Dessert
Best Apple Dessert Recipe: Classic Apple Crisp
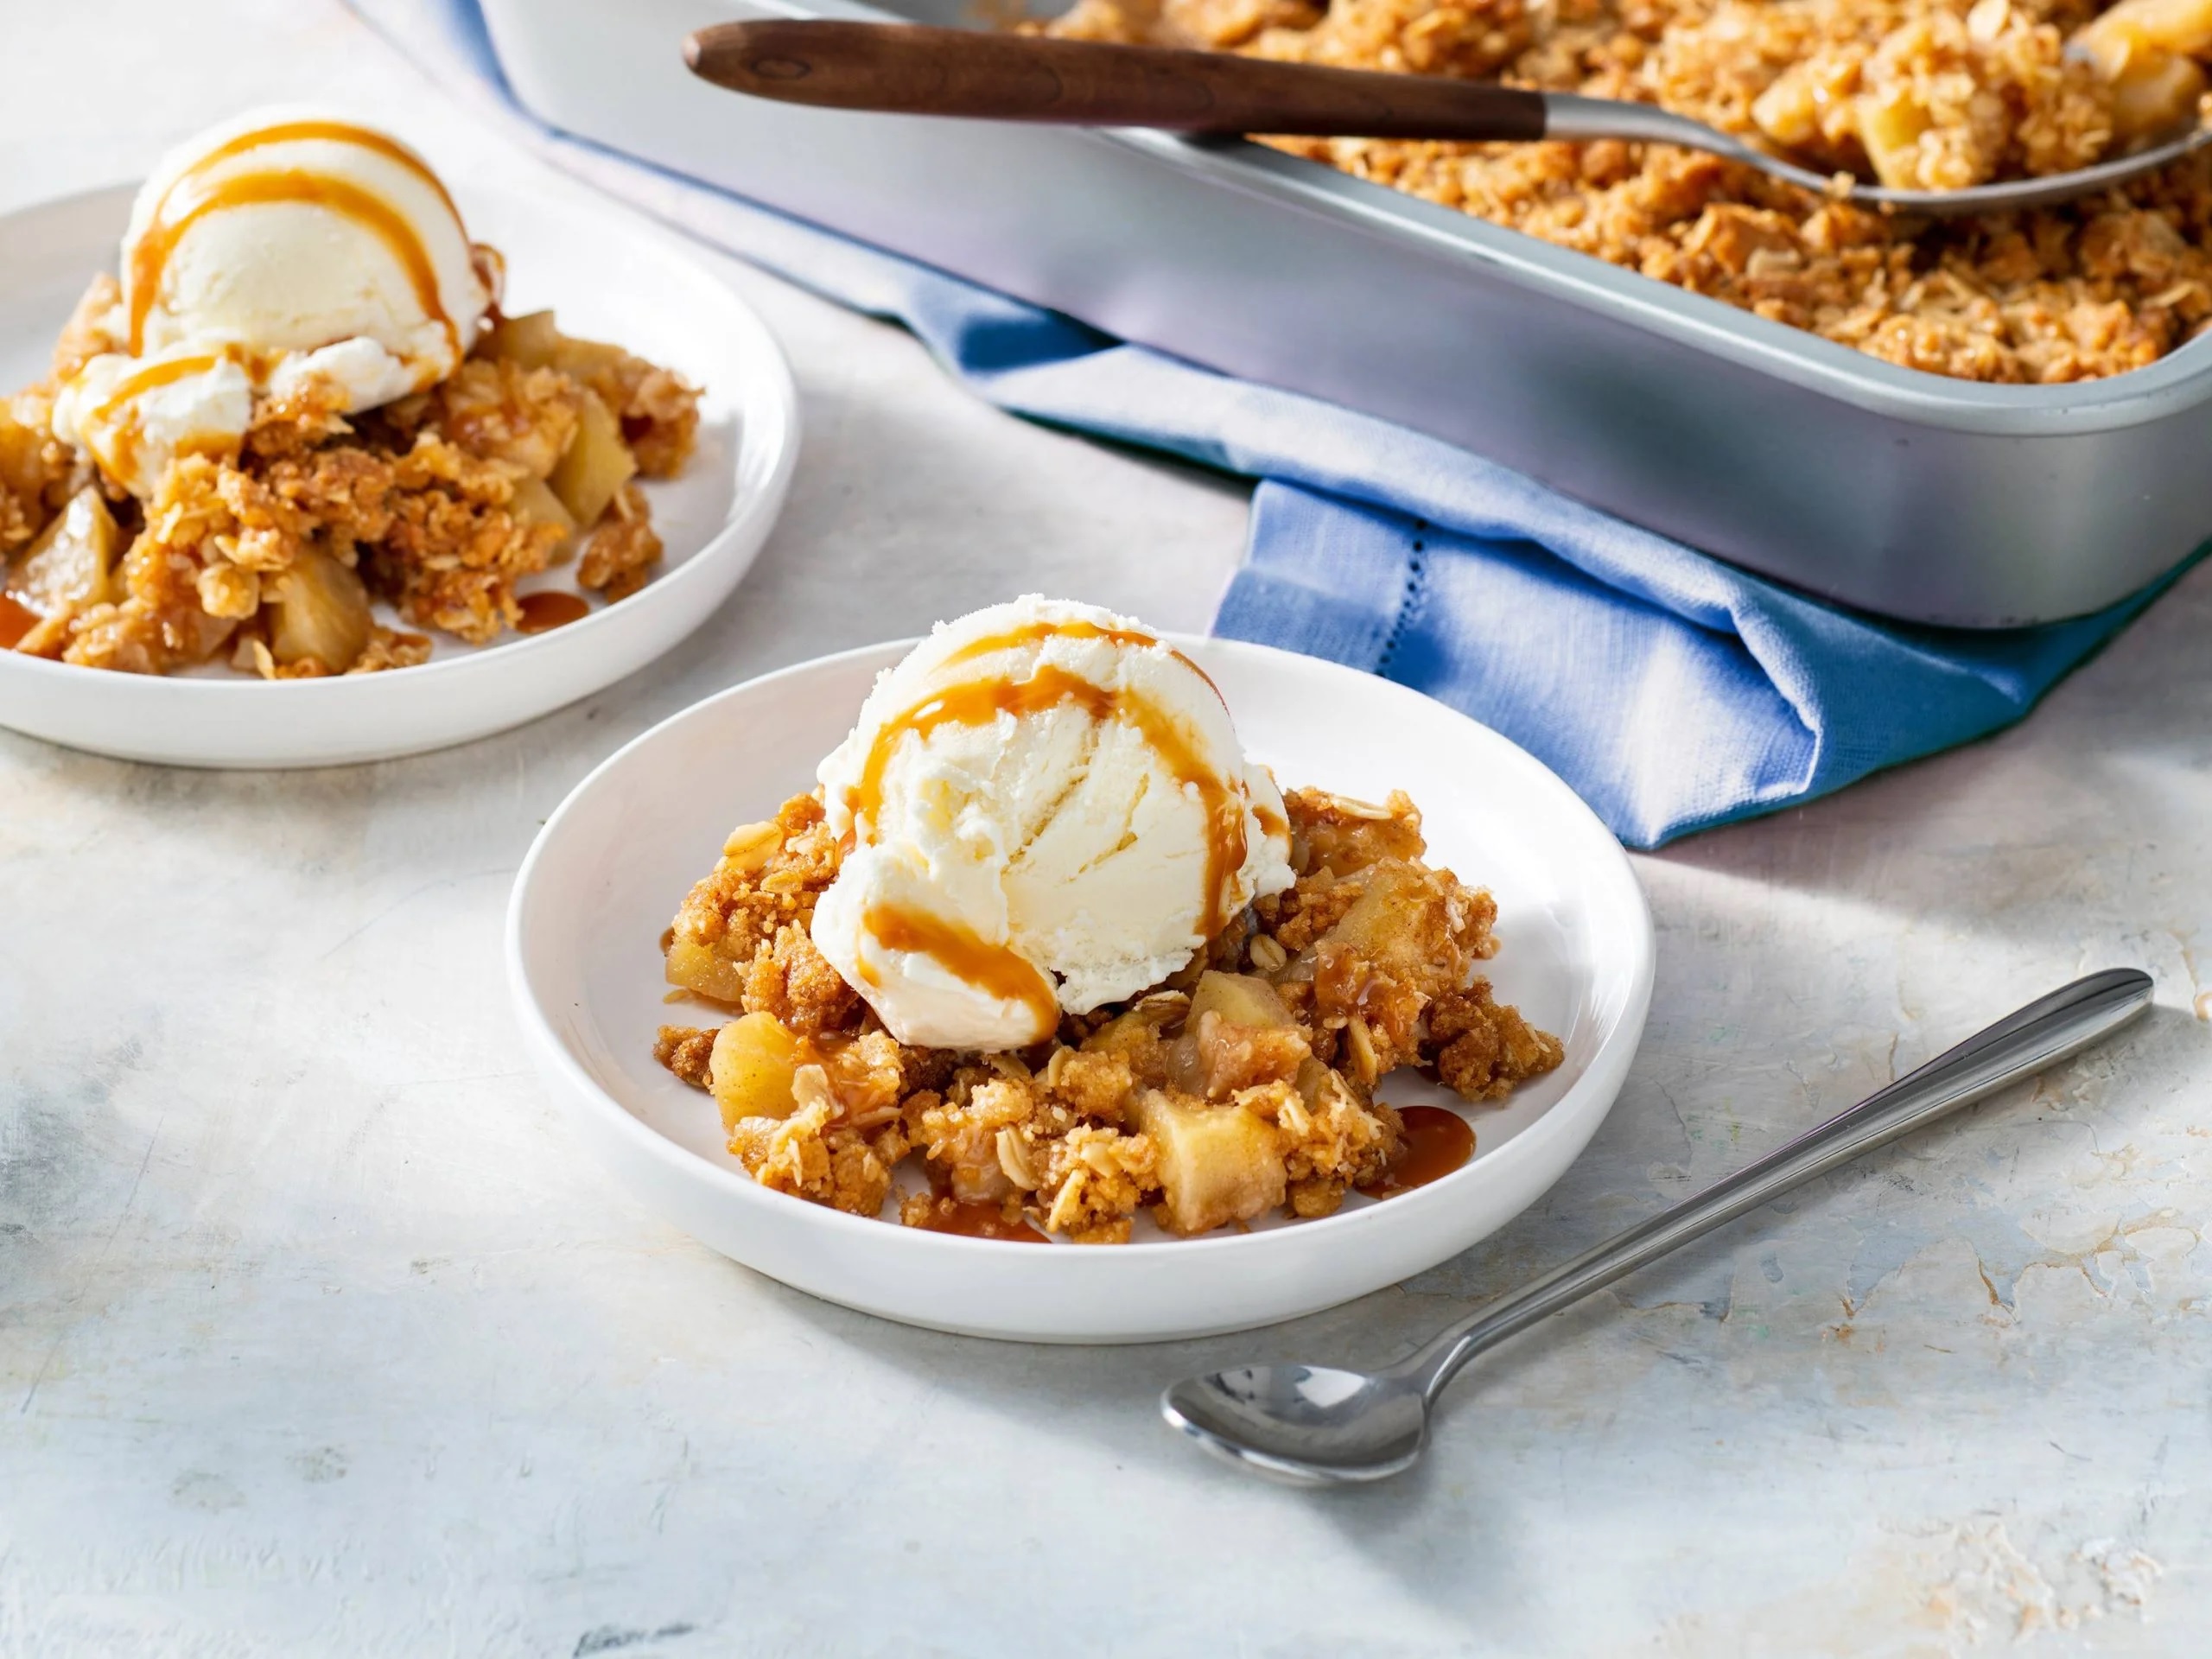
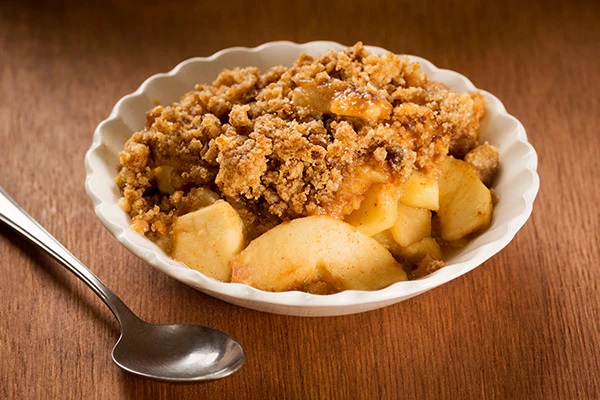
Nothing says comfort quite like a warm apple dessert, and this classic apple crisp is the perfect way to showcase the sweet, juicy flavors of fresh apples. With a buttery, crunchy topping and tender spiced apples, this dish is simple to prepare and makes a delightful treat for any occasion. Whether you serve it as a dessert at a family gathering or enjoy it as a cozy night-in treat, this apple crisp is sure to impress.
Ingredients:
For the Apple Filling:
- 6 cups apples (about 6 medium apples), peeled, cored, and sliced (Granny Smith, Honeycrisp, or a mix work well)
- 1/2 cup granulated sugar
- 1 teaspoon ground cinnamon
- 1/4 teaspoon ground nutmeg
- 1 tablespoon lemon juice
- 1 tablespoon all-purpose flour
For the Crisp Topping:
- 1 cup old-fashioned rolled oats
- 1 cup all-purpose flour
- 1/2 cup brown sugar, packed
- 1/2 teaspoon ground cinnamon
- 1/4 teaspoon salt
- 1/2 cup unsalted butter, melted
Instructions:
1. Preheat the Oven
Preheat your oven to 350°F (175°C). This will ensure that your apple crisp bakes evenly and comes out perfectly golden brown.
2. Prepare the Apple Filling
In a large mixing bowl, combine the sliced apples with granulated sugar, ground cinnamon, nutmeg, lemon juice, and flour. Toss the apples until they are well coated with the mixture. The lemon juice adds a bright flavor and helps prevent the apples from browning.
3. Transfer to Baking Dish
Pour the apple mixture into a greased 9×13-inch baking dish, spreading it out evenly. This will be the base of your crisp.
4. Make the Crisp Topping
In a separate bowl, combine the rolled oats, flour, brown sugar, ground cinnamon, and salt. Mix well, then pour in the melted butter. Stir until the mixture is crumbly and evenly moistened. The butter adds richness, while the oats provide a delightful crunch.
5. Assemble and Bake
Sprinkle the crisp topping evenly over the apple filling in the baking dish. This layer of oats and sugar will create a delicious contrast to the tender apples beneath. Bake in the preheated oven for 35-40 minutes, or until the topping is golden brown and the apples are bubbling.
6. Serve
Once baked, remove the apple crisp from the oven and let it cool slightly. Serve warm, topped with a scoop of vanilla ice cream or a dollop of whipped cream for an extra treat.
This classic apple crisp recipe is the best way to enjoy the natural sweetness of apples while indulging in a comforting dessert. Perfect for any time of year, it’s sure to become a family favorite! Enjoy!
Dessert
Easy Banana Bread Recipe
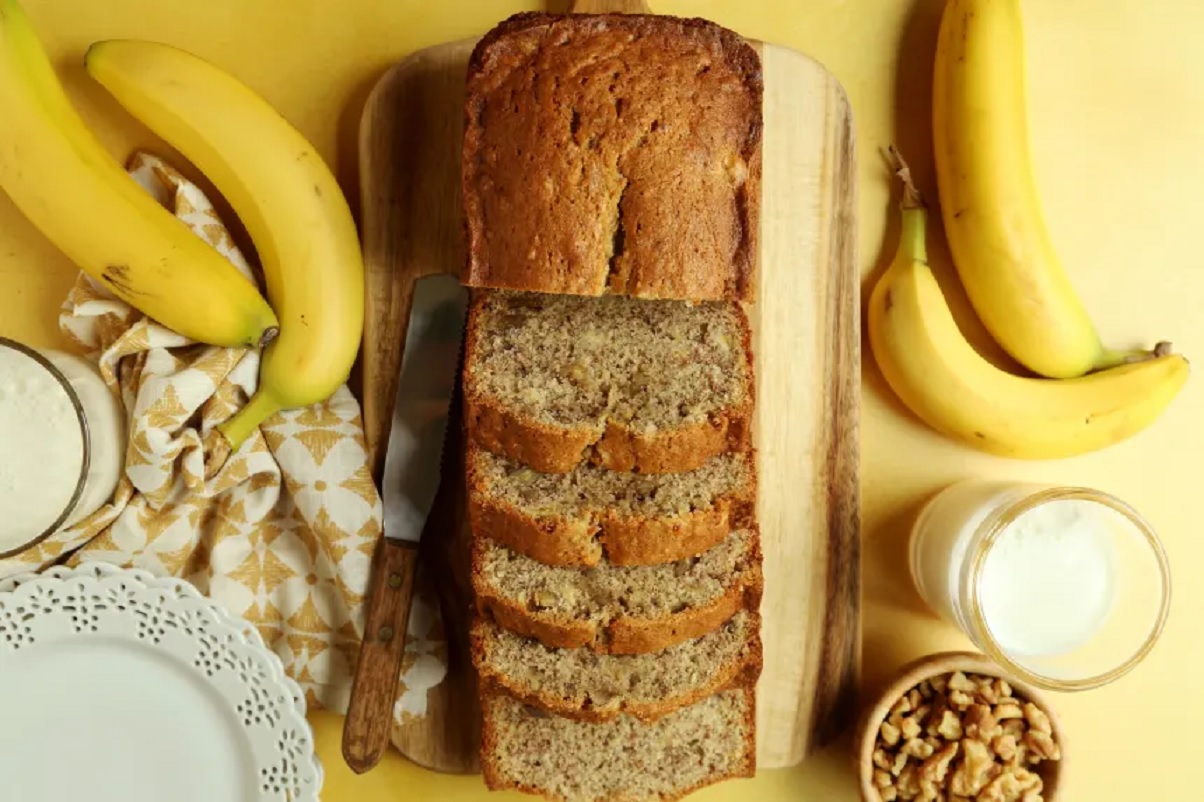
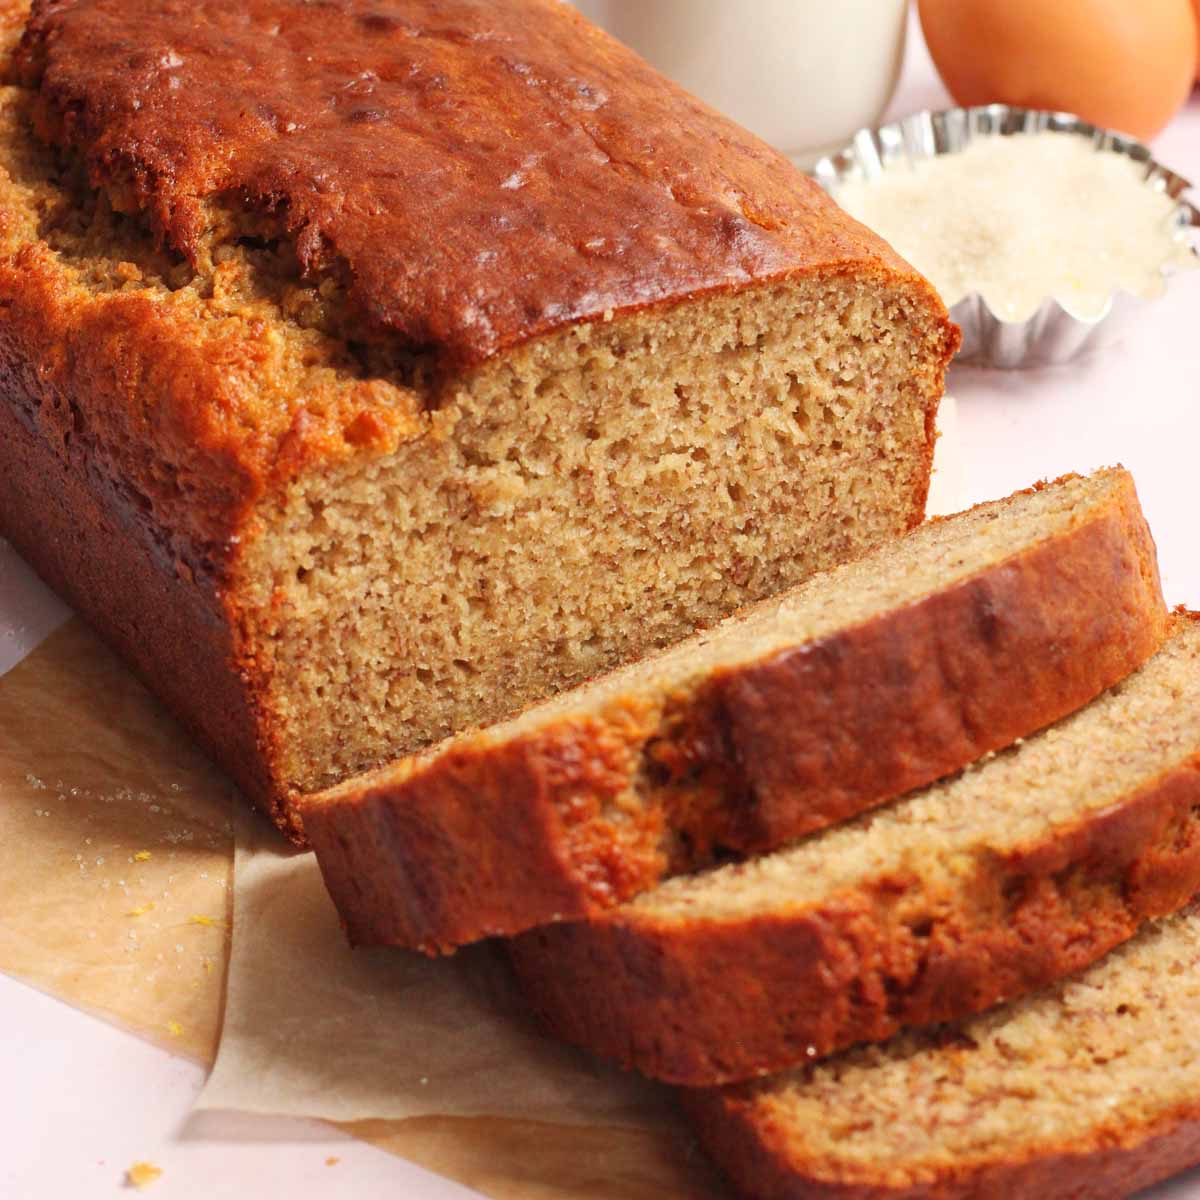
Banana bread is a classic comfort food that’s moist, flavorful, and perfect for using up overripe bananas. This simple recipe comes together quickly and results in a delicious, golden loaf that’s great for breakfast, dessert, or a snack. Made with pantry staples, this banana bread recipe is sure to be a household favorite.
Ingredients:
- 3-4 ripe bananas, mashed
- ⅓ cup melted butter (unsalted or salted)
- ¾ cup sugar (adjust to taste)
- 1 large egg, beaten
- 1 teaspoon vanilla extract
- 1 teaspoon baking soda
- 1 ½ cups all-purpose flour
- ¼ teaspoon salt
- Optional: ½ cup chocolate chips, nuts, or dried fruit
Instructions:
1. Preheat the Oven and Prepare the Pan
Preheat your oven to 350°F (175°C). Grease a standard 9×5-inch loaf pan with butter or non-stick spray, or line it with parchment paper for easy removal.
2. Mash the Bananas
In a large mixing bowl, peel and mash the bananas with a fork until smooth. You should have about 1 to 1 ½ cups of mashed banana. The riper the bananas, the sweeter and more flavorful the bread will be, so look for bananas with plenty of brown spots.
3. Add the Wet Ingredients
To the mashed bananas, add the melted butter and stir until combined. Next, add the sugar, beaten egg, and vanilla extract, stirring everything together until smooth. The sugar level can be adjusted depending on how sweet you like your banana bread or the ripeness of the bananas.
4. Incorporate the Dry Ingredients
Sprinkle the baking soda and salt evenly over the banana mixture and mix well. Then, add the flour, stirring just until combined. Avoid over-mixing, as this can make the bread dense and tough rather than soft and tender.
5. Add Optional Mix-Ins
If you’re using chocolate chips, nuts, or dried fruit, fold them gently into the batter at this point. Walnuts or pecans add a nice crunch, and chocolate chips make the bread extra indulgent. Be careful not to overmix the batter when adding these extras.
6. Pour Batter into the Pan and Bake
Pour the batter into the prepared loaf pan and spread it evenly. Place the pan in the preheated oven and bake for 50-60 minutes, or until a toothpick inserted into the center of the bread comes out clean or with just a few moist crumbs. The top should be golden brown, and the bread should spring back slightly when pressed.
7. Cool and Serve
Allow the banana bread to cool in the pan for about 10 minutes, then transfer it to a wire rack to cool completely. This helps the flavors develop and prevents the bread from being too crumbly when sliced. Once cooled, slice and enjoy!
Tips:
- Extra Ripe Bananas: For the best banana flavor, use very ripe bananas. If your bananas aren’t ripe yet, you can place them in a warm oven for 10 minutes to speed up the process.
- Storage: Banana bread can be stored at room temperature, tightly wrapped in plastic wrap, for up to 3 days. For longer storage, wrap and freeze individual slices for up to 2 months. Just reheat a slice in the microwave when you’re ready to enjoy it again.
- Make It Healthier: Substitute half the all-purpose flour with whole wheat flour, or replace some of the sugar with honey or maple syrup for a healthier version.
This easy banana bread recipe is deliciously versatile and adaptable. With its soft, moist texture and sweet banana flavor, it’s a delightful treat for any occasion. Enjoy each slice with a little butter or cream cheese, and pair it with your favorite hot beverage for a cozy treat!
Dessert
Easy Apple Crisp Recipe
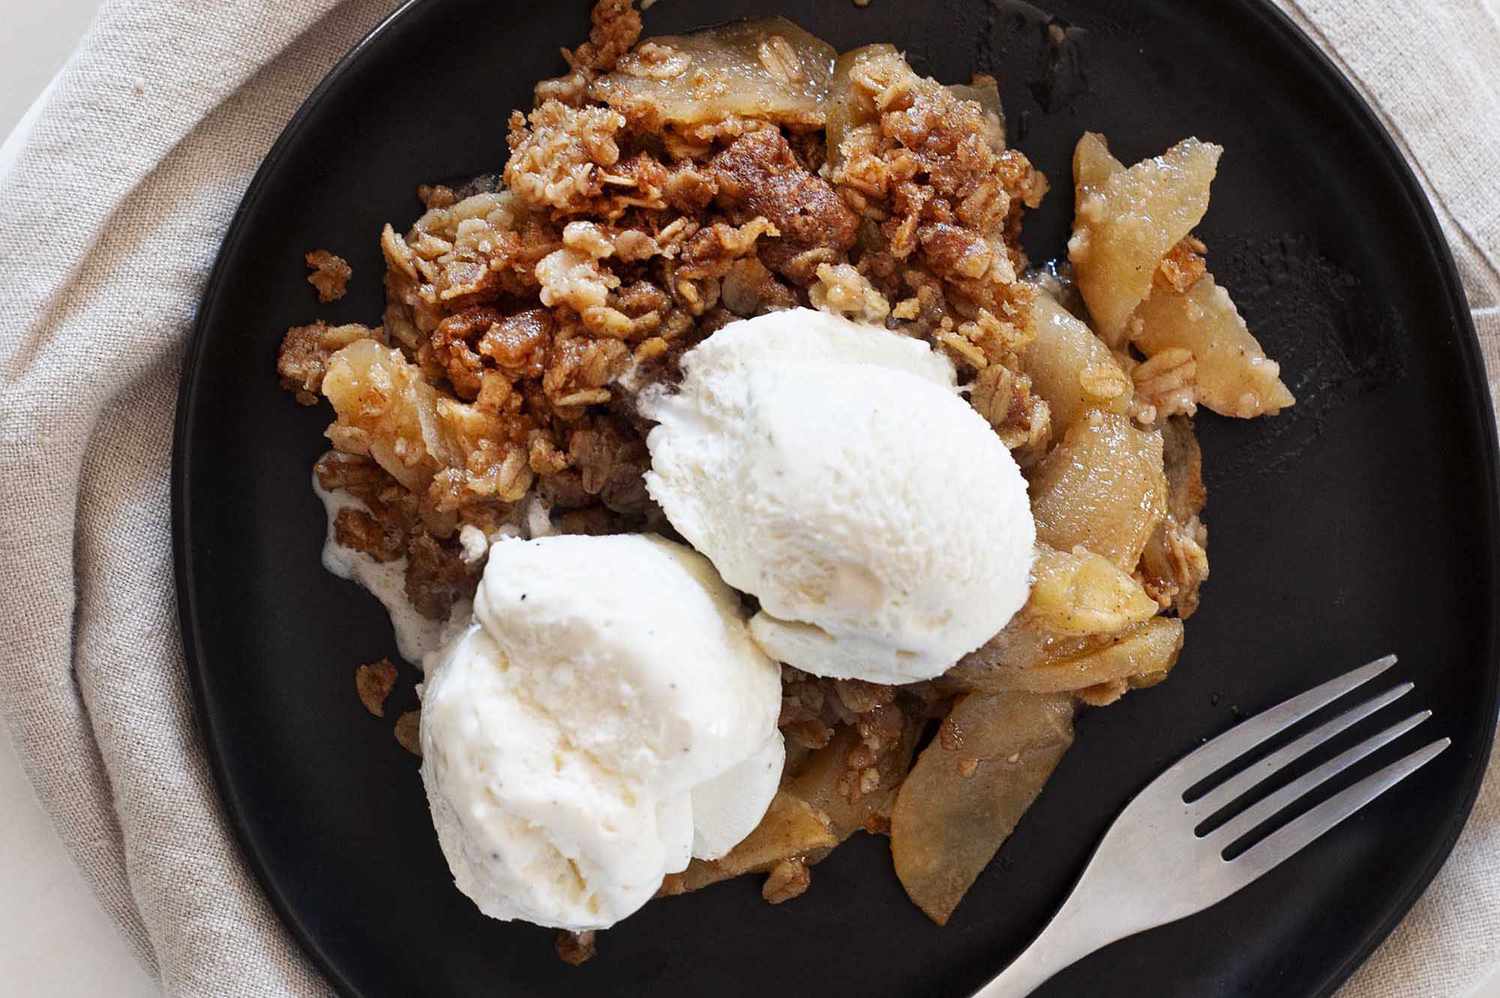
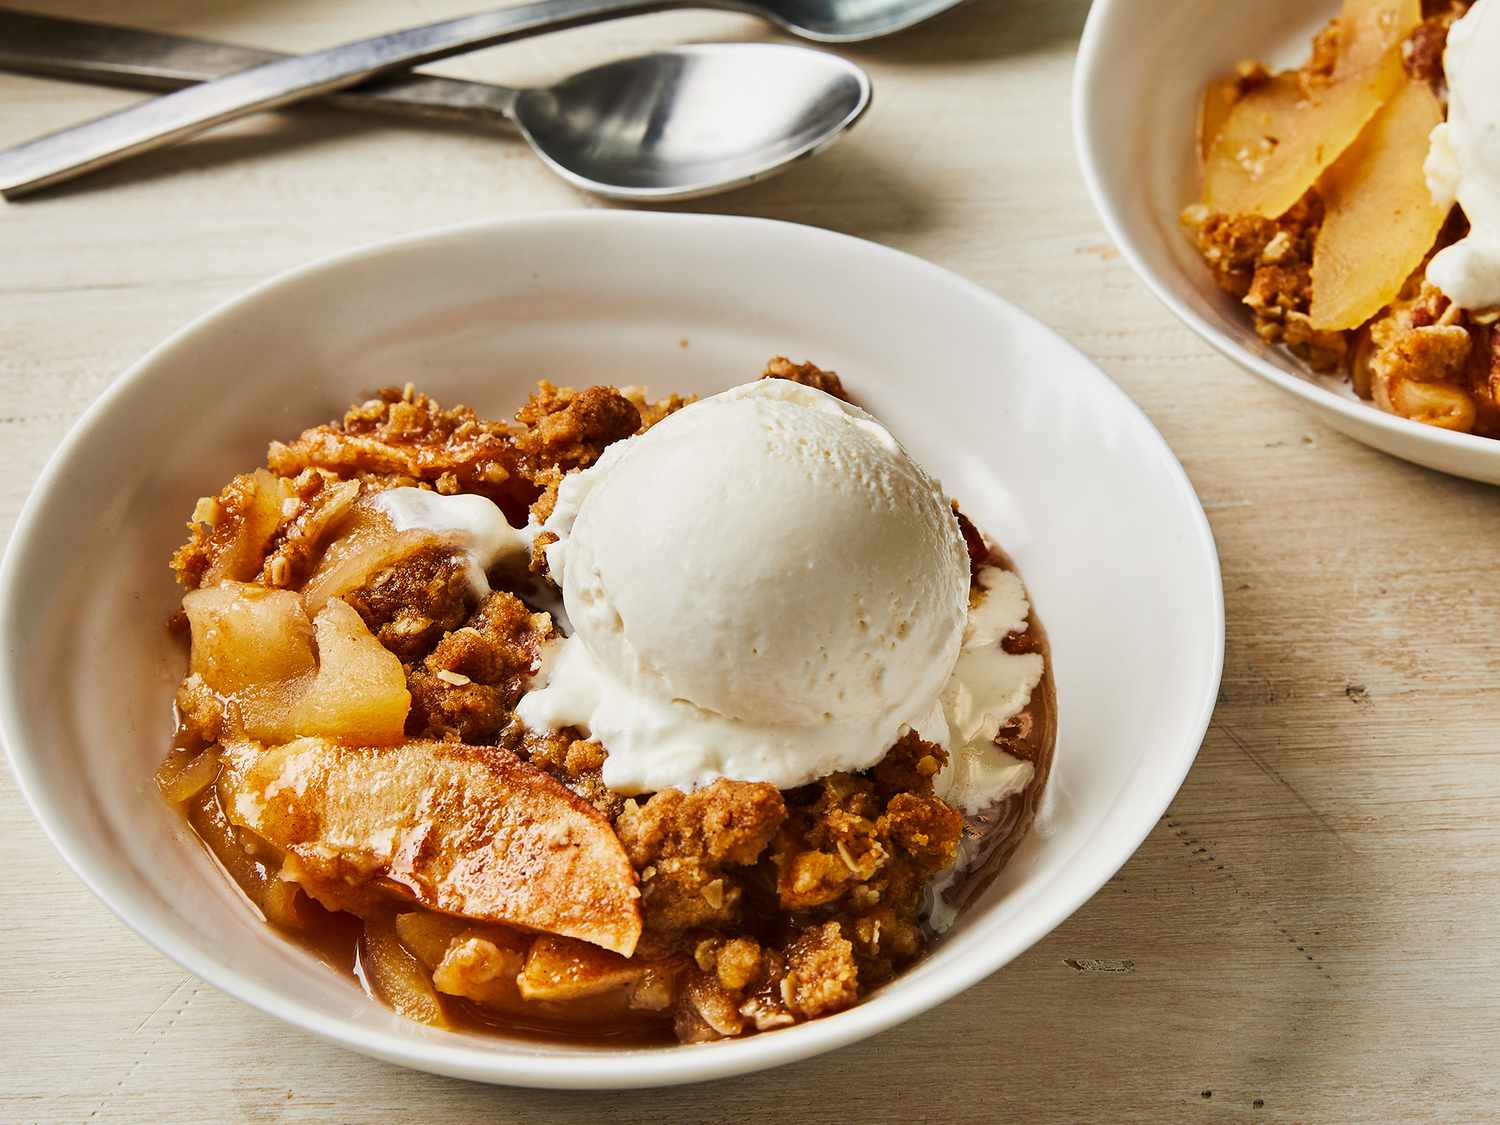
Apple crisp is a classic, comforting dessert that combines tender baked apples with a buttery, crunchy topping. It’s the perfect treat for autumn but is delicious any time of year. This recipe uses simple ingredients and is easy to make, so you’ll have a warm, flavorful apple crisp on the table in no time. Serve it with a scoop of vanilla ice cream for an extra special touch!
Ingredients:
For the Apple Filling:
- 6 medium apples (such as Granny Smith, Honeycrisp, or Fuji), peeled, cored, and sliced
- ¼ cup granulated sugar
- ¼ cup brown sugar
- 1 tablespoon lemon juice
- 1 teaspoon ground cinnamon
- ½ teaspoon nutmeg
- 1 tablespoon all-purpose flour
For the Crisp Topping:
- 1 cup old-fashioned rolled oats
- ½ cup all-purpose flour
- ½ cup brown sugar
- ½ cup unsalted butter, melted
- 1 teaspoon ground cinnamon
- ¼ teaspoon salt
Instructions:
1. Preheat the Oven
Preheat your oven to 350°F (175°C). Grease an 8×8-inch baking dish with butter or non-stick spray and set it aside.
2. Prepare the Apple Filling
Peel, core, and slice the apples. Try to keep the slices uniform in size (about ¼-inch thick) so they cook evenly. Place the sliced apples in a large mixing bowl. Add the granulated sugar, brown sugar, lemon juice, cinnamon, nutmeg, and flour. Toss everything together until the apples are evenly coated with the spices and sugars. The flour helps thicken the juices as the apples bake, creating a deliciously gooey filling.
3. Spread the Apples in the Baking Dish
Transfer the apple mixture to the prepared baking dish, spreading it out in an even layer. This will ensure that every bite has the perfect balance of tender apples and crunchy topping.
4. Make the Crisp Topping
In a separate bowl, combine the rolled oats, flour, brown sugar, cinnamon, and salt. Pour in the melted butter and stir until the mixture is fully combined. The mixture should look crumbly and slightly clumpy, perfect for a crisp topping.
5. Add the Topping to the Apples
Sprinkle the topping mixture evenly over the apples. Be sure to cover the apples as much as possible to get that delicious, crispy texture in each bite.
6. Bake the Apple Crisp
Place the baking dish in the preheated oven and bake for 40-45 minutes, or until the topping is golden brown and the apples are bubbling around the edges. If the topping begins to brown too quickly, you can cover it loosely with aluminum foil to prevent burning.
7. Let it Cool Slightly Before Serving
Once the apple crisp is done baking, remove it from the oven and let it cool for about 10-15 minutes. This allows the filling to set slightly, making it easier to serve.
8. Serve and Enjoy
Scoop the apple crisp into bowls and serve warm. It’s delicious on its own, but a scoop of vanilla ice cream or a dollop of whipped cream makes it even better!
Tips:
- Choosing Apples: Granny Smith apples are popular for apple crisp because their tartness balances the sweetness of the topping, and they hold up well during baking. Honeycrisp or Fuji apples are also great for a naturally sweeter result.
- Make Ahead: You can prepare the apple filling and topping separately and store them in the fridge. When ready to bake, assemble and pop it into the oven.
- Storage: Store leftover apple crisp in the fridge for up to 3 days. To reheat, pop it in the oven at 350°F for 10-15 minutes to crisp up the topping.
This easy apple crisp recipe is simple to make and packed with comforting flavors, perfect for any occasion or just a cozy night in. Enjoy!
Dessert
Homemade Peach Chutney Recipe
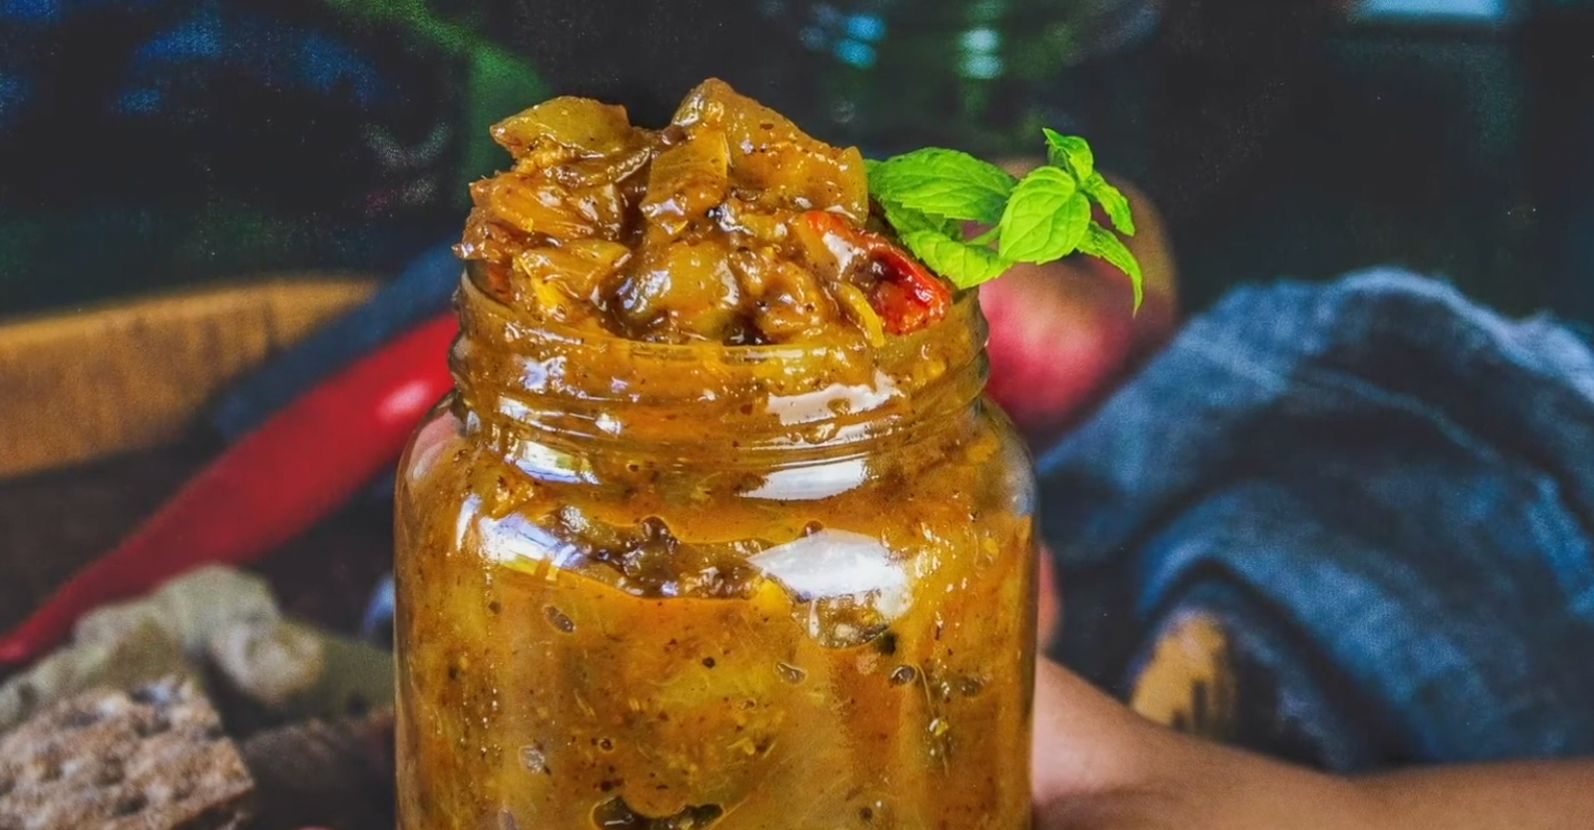
Peach chutney is a sweet, tangy, and slightly spicy condiment that adds a burst of flavor to any dish. Made with ripe peaches, vinegar, sugar, and a blend of spices, it’s perfect for pairing with grilled meats, cheese boards, or even as a sandwich spread. This easy peach chutney recipe is a great way to use up extra peaches, and it keeps well in the fridge for weeks.
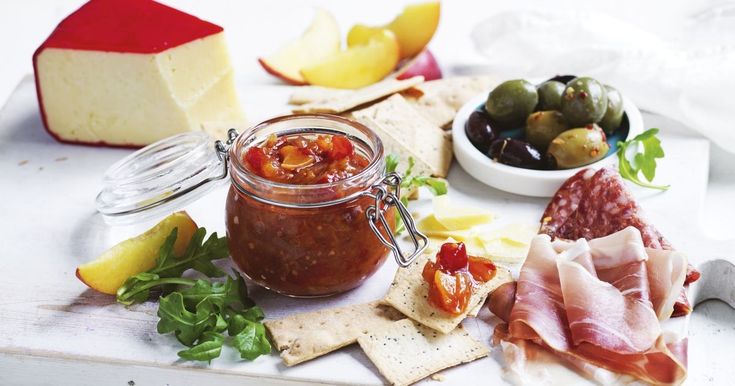
Ingredients:
- 4 ripe peaches, peeled, pitted, and diced
- 1 small onion, finely chopped
- ½ cup apple cider vinegar
- ½ cup brown sugar (adjust for desired sweetness)
- 1 tablespoon fresh ginger, grated
- 1 garlic clove, minced
- ½ teaspoon red pepper flakes (adjust for spice level)
- 1 cinnamon stick
- ¼ teaspoon ground cloves
- ¼ teaspoon ground allspice
- ½ teaspoon salt
- Optional: ¼ cup raisins or dried cranberries for added texture
Instructions:
1. Prepare the Peaches
Start by peeling, pitting, and dicing the peaches. If your peaches are very ripe, the skin should come off easily, but if needed, you can blanch them in boiling water for about 30 seconds and then transfer them to an ice bath to make peeling easier. Dice the peach flesh into small cubes, aiming for bite-sized pieces. Set aside.
2. Cook the Aromatics
In a medium saucepan, heat a splash of oil over medium heat. Add the chopped onion and cook until soft and translucent, about 3-5 minutes. Add the grated ginger and minced garlic, stirring and cooking for another 1-2 minutes until fragrant.
3. Add the Spices
To enhance the flavor of the chutney, add the cinnamon stick, ground cloves, and ground allspice to the saucepan. Stir well to coat the onions, garlic, and ginger with the spices. For a little heat, add the red pepper flakes; you can adjust this to suit your spice preference.
4. Combine with Peaches, Vinegar, and Sugar
Add the diced peaches, apple cider vinegar, and brown sugar to the saucepan. Stir well to combine all the ingredients. The sugar and vinegar help preserve the chutney and create a sweet and tangy base. Bring the mixture to a simmer over medium heat, stirring occasionally until the sugar has dissolved.
5. Simmer the Chutney
Lower the heat and allow the chutney to simmer for about 30-40 minutes. Stir occasionally to prevent sticking, and let the peaches soften and break down as the mixture thickens. During this time, the flavors will meld, and the chutney will develop a rich, jam-like texture. If you’re adding raisins or dried cranberries, stir them in about halfway through the cooking process to allow them to plump up and absorb the flavors.
6. Taste and Adjust
After the chutney has thickened to your liking, taste and adjust any seasonings. You may want to add a bit more salt, sugar, or spice to balance the flavors. If the chutney becomes too thick, you can add a splash of water or vinegar to reach the desired consistency.
7. Cool and Store
Once the chutney is done cooking, remove it from the heat and let it cool to room temperature. Transfer the cooled chutney to a clean, airtight container or jar and store it in the refrigerator for up to 2 weeks. For long-term storage, consider canning the chutney using proper canning methods.
Serving Suggestions:
- With Meat: Serve peach chutney with grilled chicken, pork, or shrimp to add a touch of sweetness and spice.
- Cheese Board: Pair it with cheeses like brie, goat cheese, or cheddar for a delicious contrast.
- Sandwich Spread: Spread it on a turkey or ham sandwich for an extra layer of flavor.
- Roasted Vegetables: Add a spoonful to roasted veggies like sweet potatoes or carrots.
Tips:
- Ripe Peaches: Use ripe, juicy peaches for the best flavor. If peaches aren’t in season, you can substitute with frozen peaches.
- Add More Spice: For a spicier chutney, add extra red pepper flakes or even a dash of cayenne.
- Make Ahead: This chutney tastes better the next day as the flavors have had time to meld, making it perfect for meal prep or entertaining.
This easy peach chutney is a versatile and flavorful condiment that’s sure to elevate any meal. Enjoy its sweet and spicy flavor with your favorite dishes!
-
 Salads1 year ago
5-Minute Dense Bean Salad Recipe
-

 Dinners1 year ago
MasterChef Seafood Paella Recipe
-

 Sauces1 year ago
Chick-fil-A Sauces Recipe
-

 Breakfast1 year ago
Cheese Omelette Recipe That Will Make You Look Like a MasterChef
-

 Dinners1 year ago
Easy Garlic Butter Chicken Bites with Creamy Parmesan Pasta
-

 Dinners1 year ago
MasterChef Arancini Balls Recipe
-
 Vegetables1 year ago
Best Ever Guacamole Recipe
-

 Pastry1 year ago
French Pastry Pie Crust


