Breakfast
Pasta Alla Zozzona Recipe
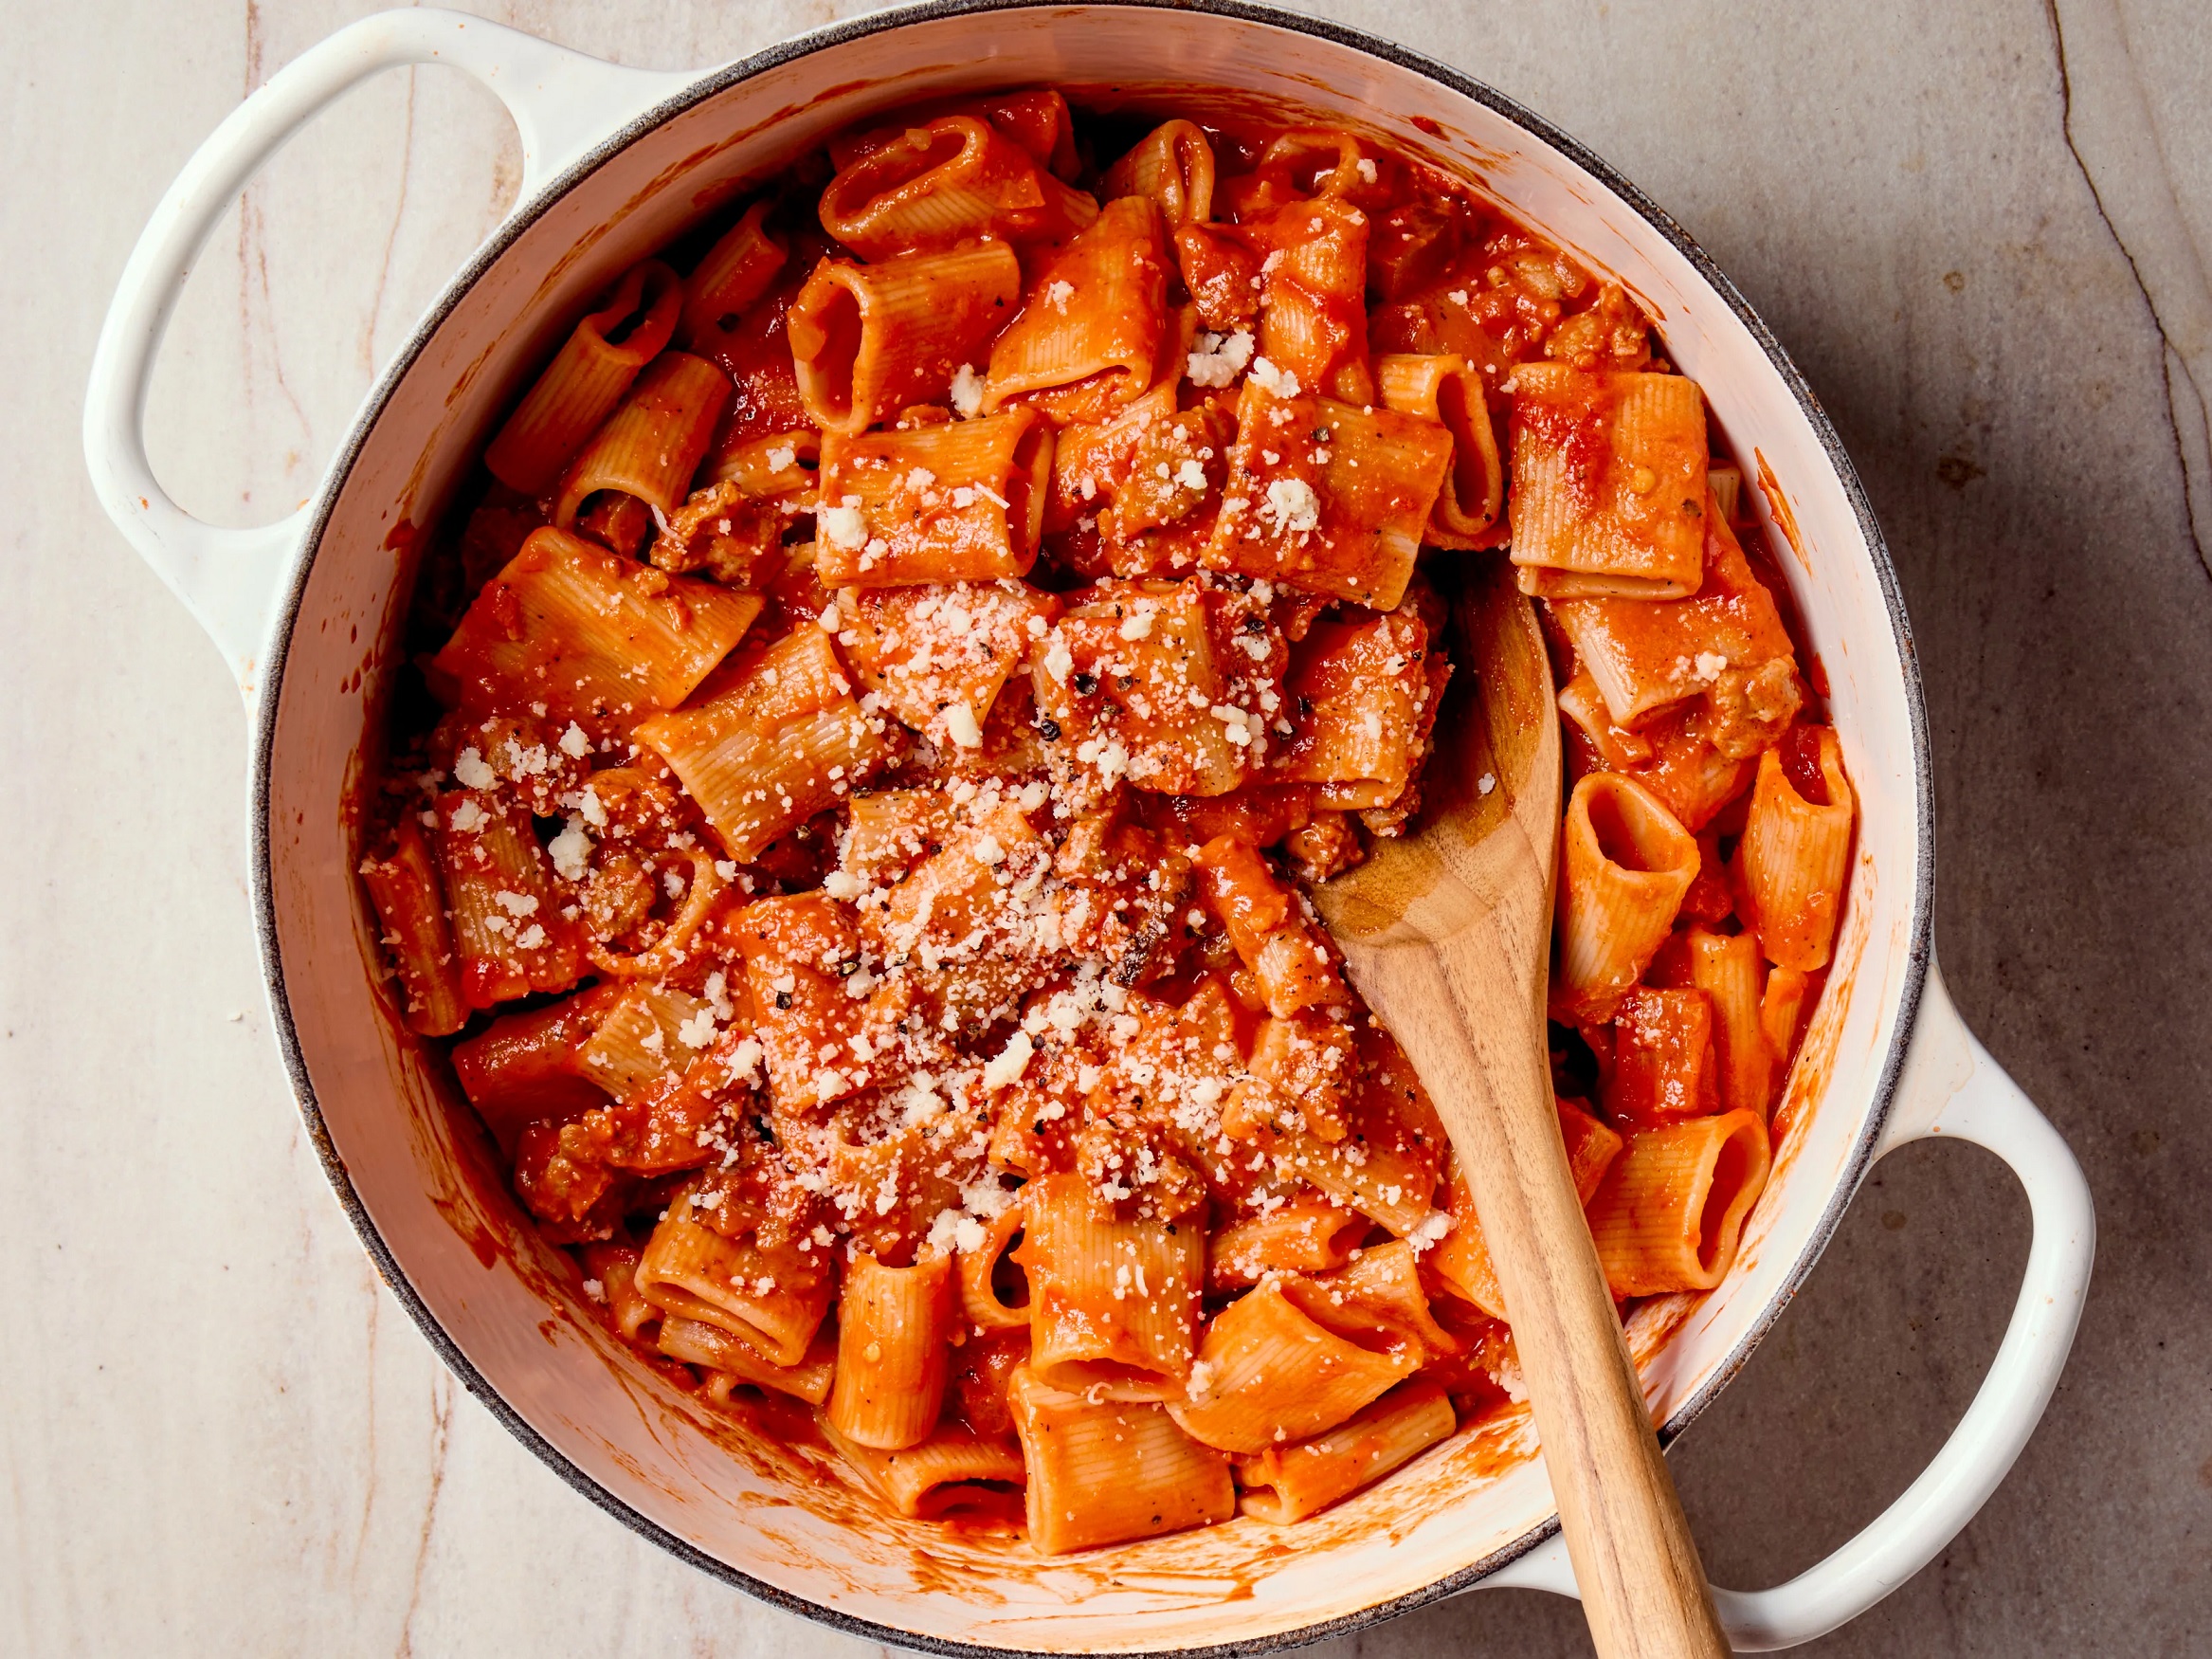
Pasta Alla Zozzona is a Roman pasta dish that brings together rich, flavorful ingredients like guanciale, sausage, eggs, tomatoes, and Pecorino Romano. The name “Zozzona” loosely translates to “dirty” in Italian, reflecting its indulgent, hearty nature. This dish is a fusion of traditional Roman pastas like Carbonara and Amatriciana, creating a satisfying meal with a luxurious texture and robust taste.
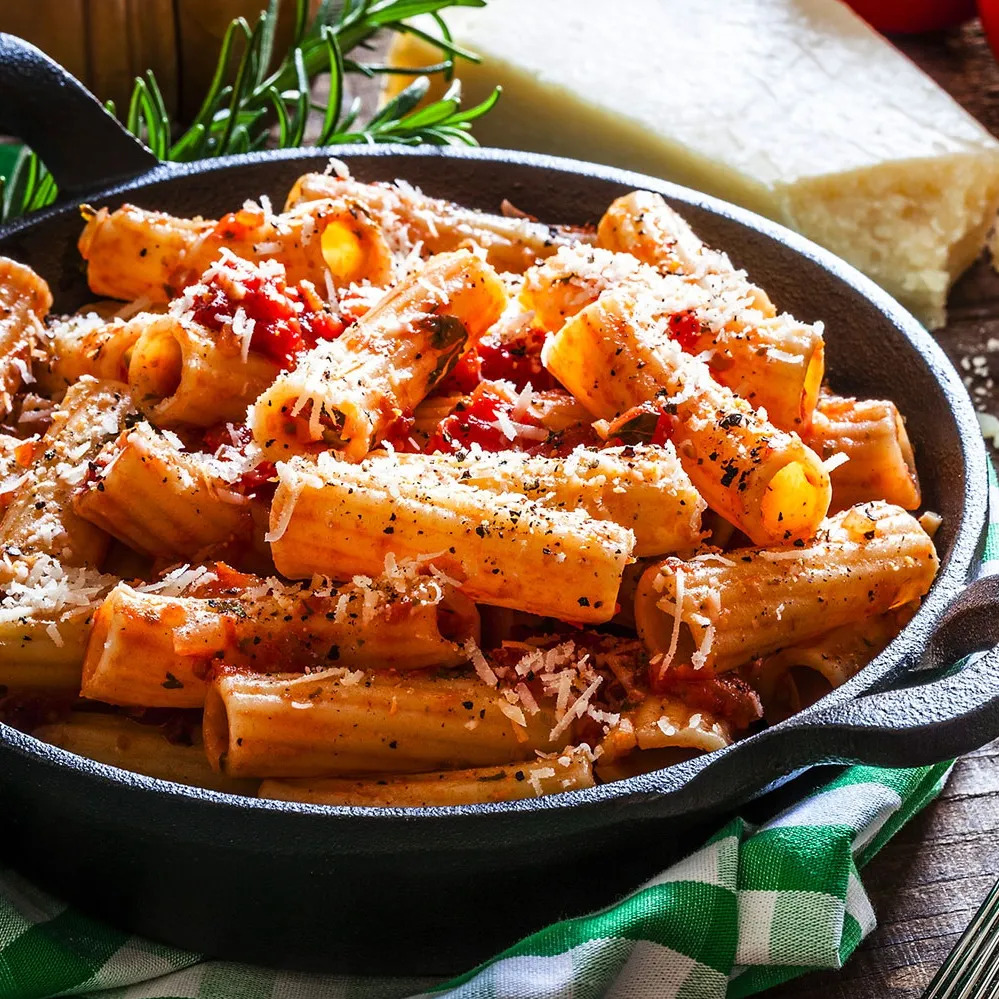
Ingredients:
- 400g pasta (rigatoni or other short pasta)
- 150g guanciale (or pancetta), diced
- 150g Italian sausage, removed from casings and crumbled
- 2 eggs
- 1/2 cup Pecorino Romano cheese, grated
- 1 can (14 oz) crushed tomatoes
- 1 garlic clove, minced
- Salt and pepper to taste
- Fresh parsley (optional, for garnish)
Instructions:
1. Cook the Pasta
Bring a large pot of salted water to a boil. Add the pasta and cook until al dente, according to package instructions. Reserve 1 cup of pasta water, then drain the pasta and set aside.
2. Fry the Guanciale and Sausage
In a large skillet, cook the diced guanciale over medium heat until it becomes crispy and golden brown. Guanciale is a traditional Roman cured pork cheek, but if it’s not available, pancetta works as a great substitute. Once the guanciale is crispy, remove it from the pan and set it aside, leaving the fat in the pan.
Add the crumbled Italian sausage to the skillet and cook it in the leftover fat from the guanciale. Cook until browned and fully cooked through, breaking it up into small pieces as it cooks. This combination of meats brings a salty, savory flavor that forms the base of the dish.
3. Add the Tomatoes and Garlic
Once the sausage is cooked, add the minced garlic and cook for about 1 minute until fragrant. Stir in the crushed tomatoes, seasoning with a pinch of salt and pepper. Let the sauce simmer for 5-7 minutes, allowing the flavors to meld together. The tomatoes add a slight acidity that balances the richness of the meat.
4. Prepare the Egg Mixture
In a small bowl, whisk the eggs and grated Pecorino Romano cheese together. This will form a creamy, rich sauce that is similar to Carbonara but with a heartier twist.
5. Combine Everything
Add the cooked pasta and crispy guanciale back to the skillet with the sausage and tomato sauce. Toss everything together over low heat, ensuring the pasta is well-coated. Remove the skillet from the heat, and quickly stir in the egg and cheese mixture, using the reserved pasta water to achieve a silky, creamy consistency.
6. Serve
Plate the pasta and garnish with extra Pecorino Romano and fresh parsley if desired. Serve immediately.
This indulgent Pasta Alla Zozzona is perfect for a comforting, hearty meal, combining the best of Roman flavors into one delicious dish!
Breakfast
Cheesy Garlic Chicken Wraps Recipe
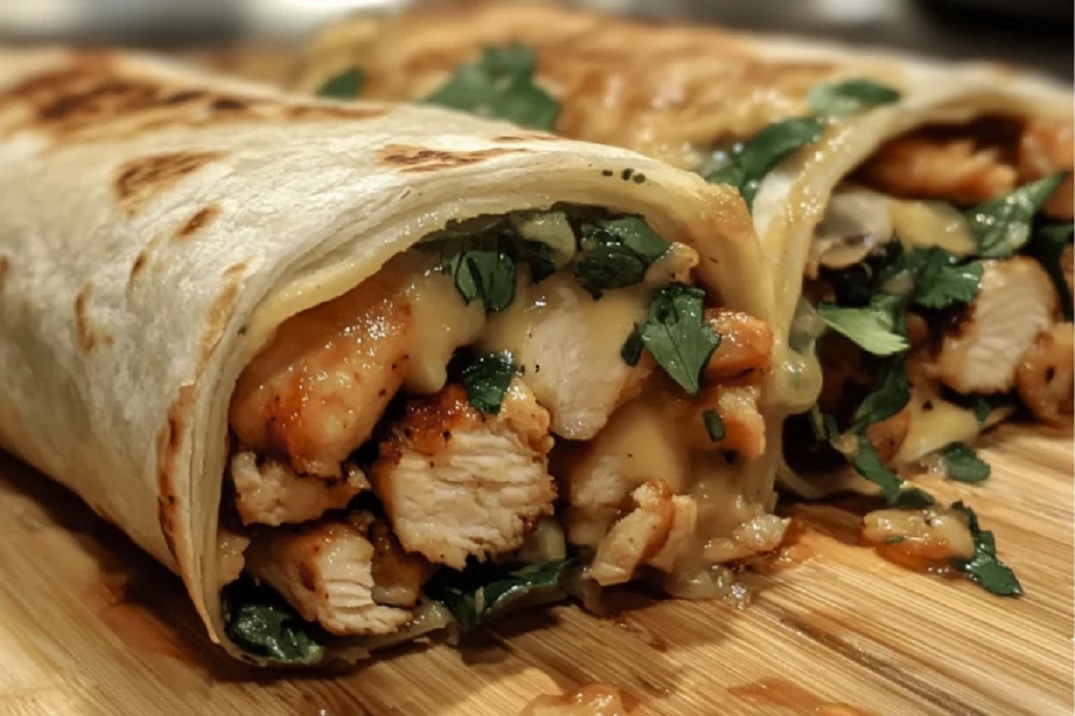
These cheesy garlic chicken wraps are a quick, delicious meal that combines tender chicken, gooey cheese, and a hint of garlic—all wrapped in a soft tortilla. Perfect for a satisfying lunch, dinner, or on-the-go snack, this recipe is versatile and can be made in under 30 minutes. Customize with your favorite toppings or serve with a side of salsa, sour cream, or guacamole.
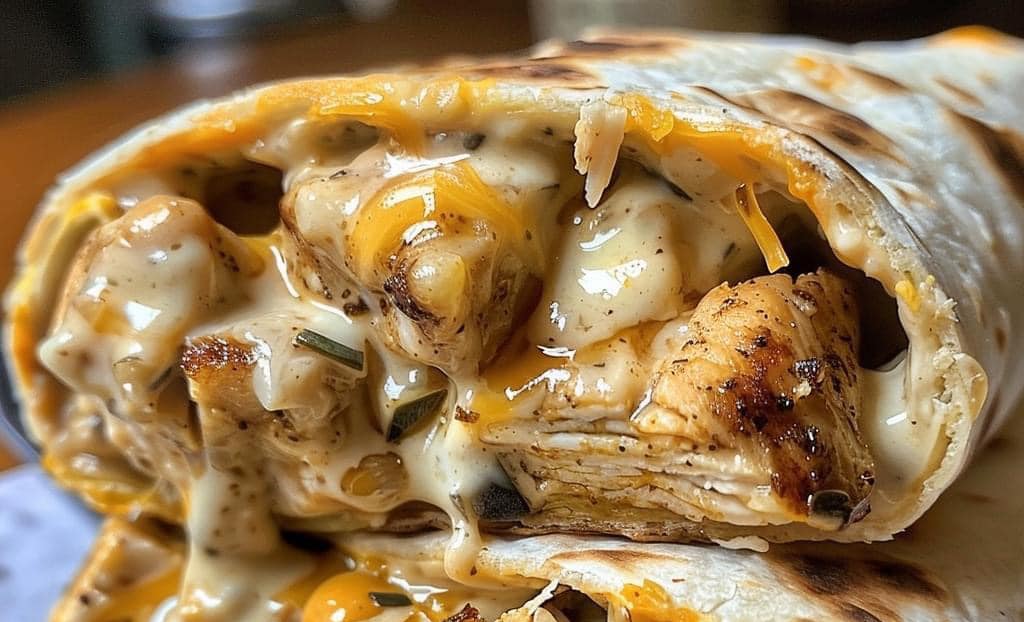
Ingredients:
- 2 large chicken breasts, thinly sliced
- 1 tablespoon olive oil
- 1 teaspoon garlic powder (or 2 cloves fresh garlic, minced)
- Salt and pepper to taste
- ½ teaspoon paprika (optional, for added flavor)
- 4 large flour tortillas
- 1 cup shredded mozzarella or cheddar cheese
- ¼ cup sour cream or mayonnaise (optional, for creaminess)
- Fresh spinach, lettuce, or mixed greens
- Optional toppings: sliced avocado, diced tomatoes, or red onion slices
Instructions:
1. Cook the Chicken
Slice the chicken breasts into thin strips for quicker cooking. Heat a tablespoon of olive oil in a skillet over medium heat. Add the chicken slices and season with garlic powder, salt, pepper, and paprika if desired. Sauté the chicken for about 6-8 minutes, stirring occasionally, until it’s fully cooked and no longer pink inside. For added flavor, you can add minced fresh garlic during the last minute of cooking. Once cooked, set the chicken aside.
2. Prepare the Tortillas
Lay the flour tortillas out on a clean surface. Spread a thin layer of sour cream or mayonnaise onto each tortilla for an extra creamy texture, if desired. This will also help hold the fillings together.
3. Assemble the Wraps
On each tortilla, sprinkle a generous amount of shredded cheese down the center. Mozzarella and cheddar both melt well and add a deliciously cheesy flavor, but feel free to use your favorite cheese blend. Place a portion of the cooked chicken on top of the cheese, followed by a handful of fresh greens. Spinach, lettuce, or arugula are all great options that add a nice crunch and balance out the flavors.
Add any additional toppings you like, such as avocado slices for creaminess, diced tomatoes for freshness, or red onion slices for a bit of tang.
4. Wrap and Toast
Fold the sides of each tortilla over the fillings, then roll it up tightly like a burrito. Place the wraps seam-side down on a hot skillet or grill pan over medium heat. Toast each side for about 2-3 minutes until golden and crispy, allowing the cheese to melt inside. This step adds a deliciously crisp texture and locks in the flavors.
5. Serve Warm
Slice each wrap in half diagonally and serve while warm. The wraps are perfect on their own but can also be served with dipping sauces like ranch, salsa, sour cream, or guacamole.
Tips:
- Make It Spicy: Add a pinch of red pepper flakes or a dash of hot sauce to the chicken for a spicy kick.
- Add Crunch: For extra texture, you can add thinly sliced bell peppers or cucumbers to the wraps.
- Make It Ahead: These wraps can be prepared in advance, then toasted right before serving. Wrap them in foil and reheat in the oven for 10 minutes at 350°F (175°C) to warm up.
This cheesy garlic chicken wrap recipe is an easy, crowd-pleasing meal that’s perfect for busy days or a casual dinner. The combination of garlic-seasoned chicken, melted cheese, and fresh greens makes each bite satisfying and flavorful. With minimal prep and cooking time, it’s a go-to recipe that brings together the best of both comfort and convenience. Enjoy!
Breakfast
Roasted Pumpkin Seeds Recipe
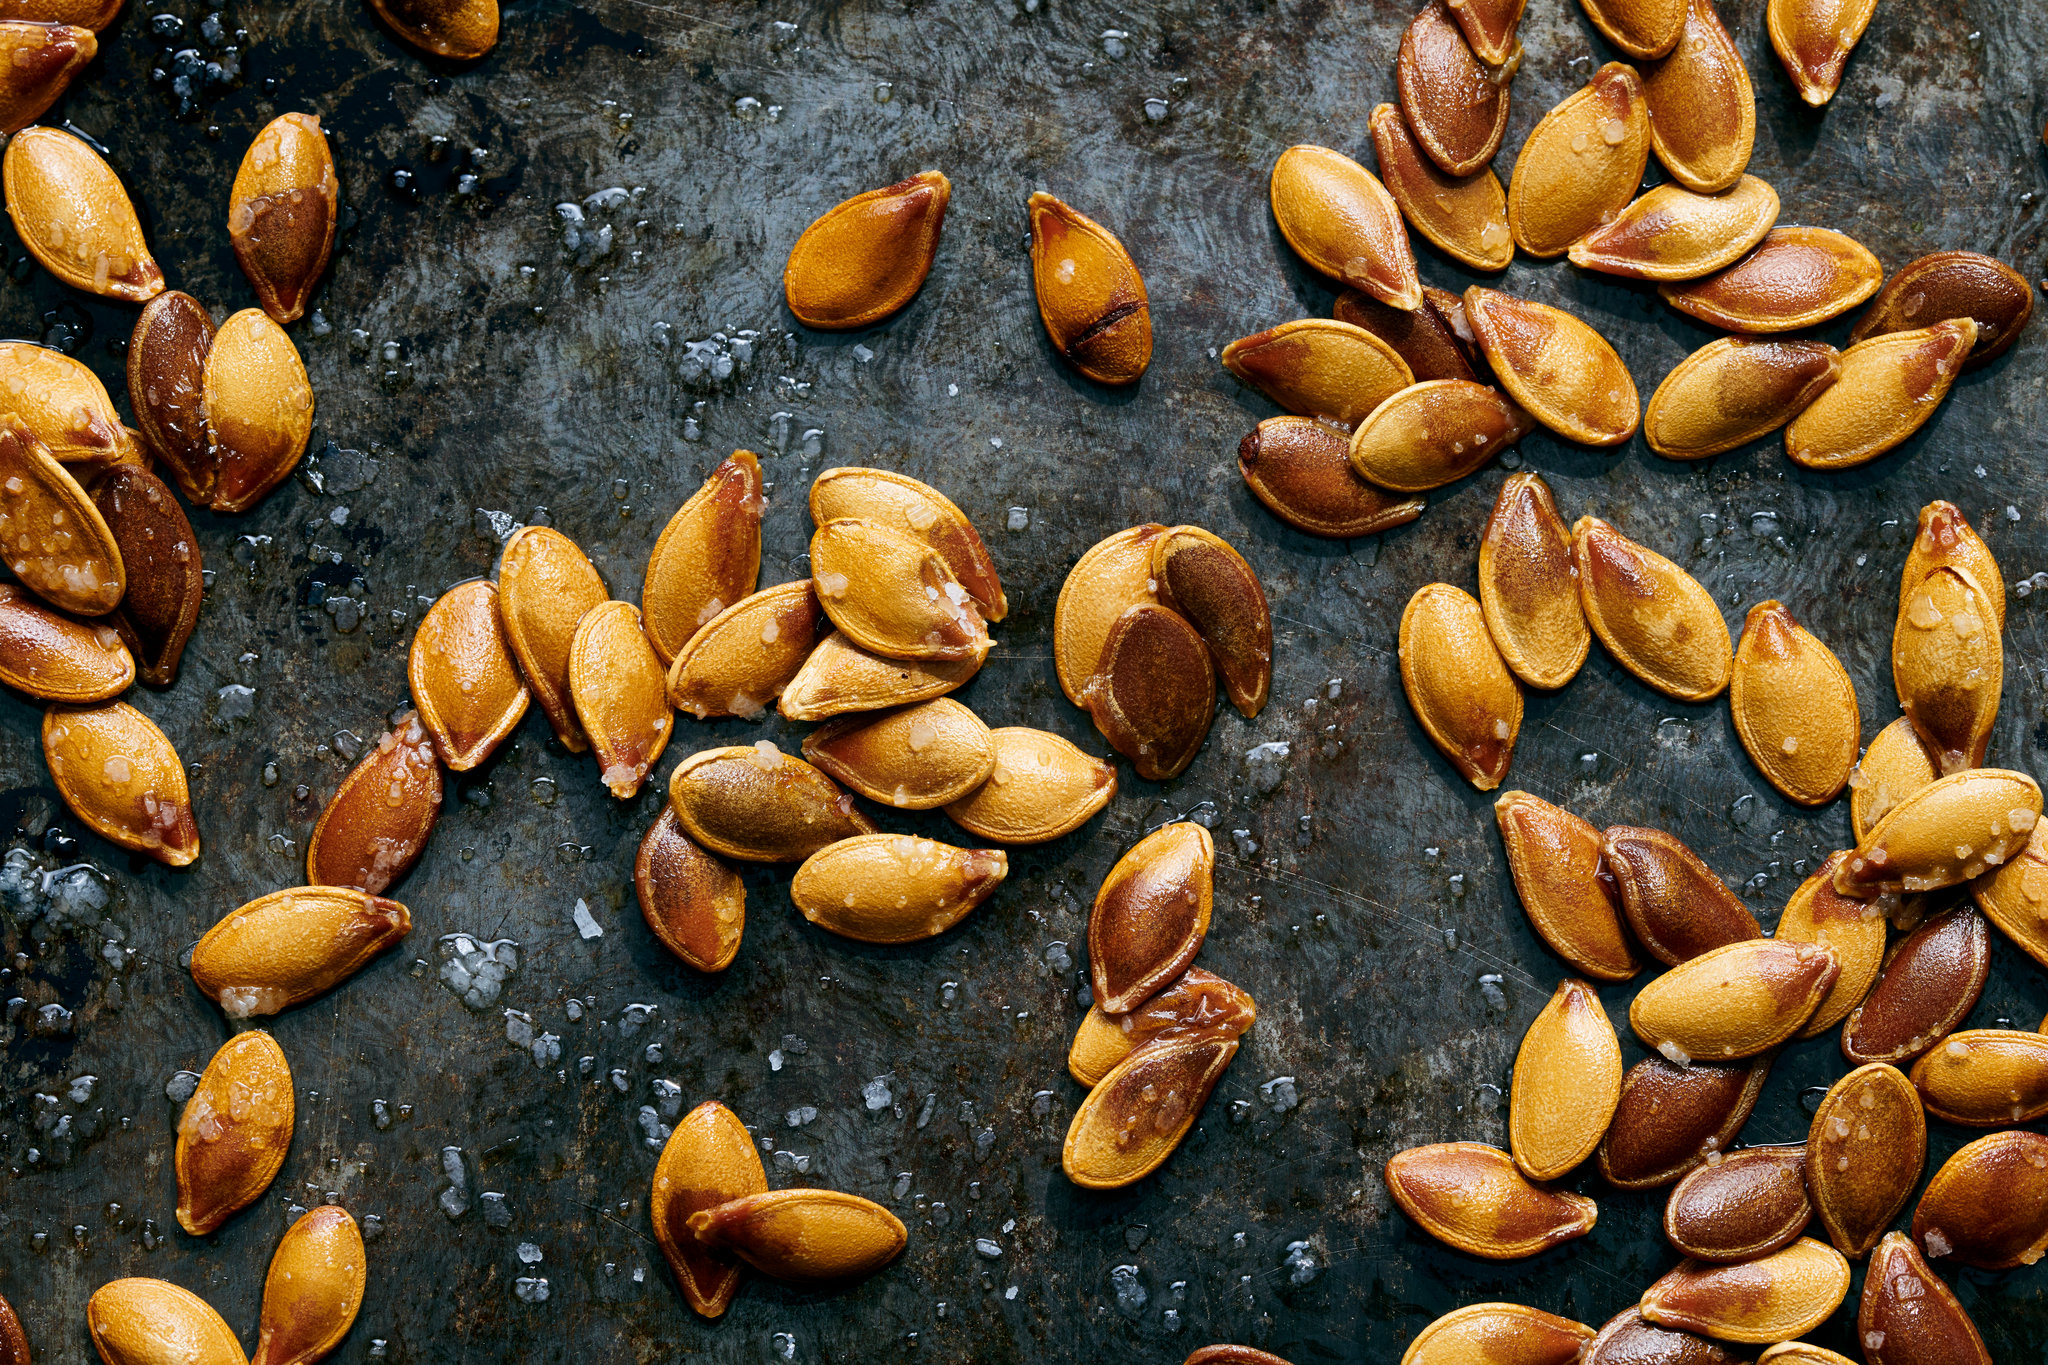
Roasted pumpkin seeds are a delicious, crunchy snack that’s perfect for fall, and they’re incredibly easy to make. Whether you’re carving a pumpkin for Halloween or just love pumpkin-flavored treats, this recipe lets you turn those leftover seeds into a tasty and nutritious snack. Pumpkin seeds are high in protein, fiber, and essential minerals, making them both a healthy and satisfying treat.
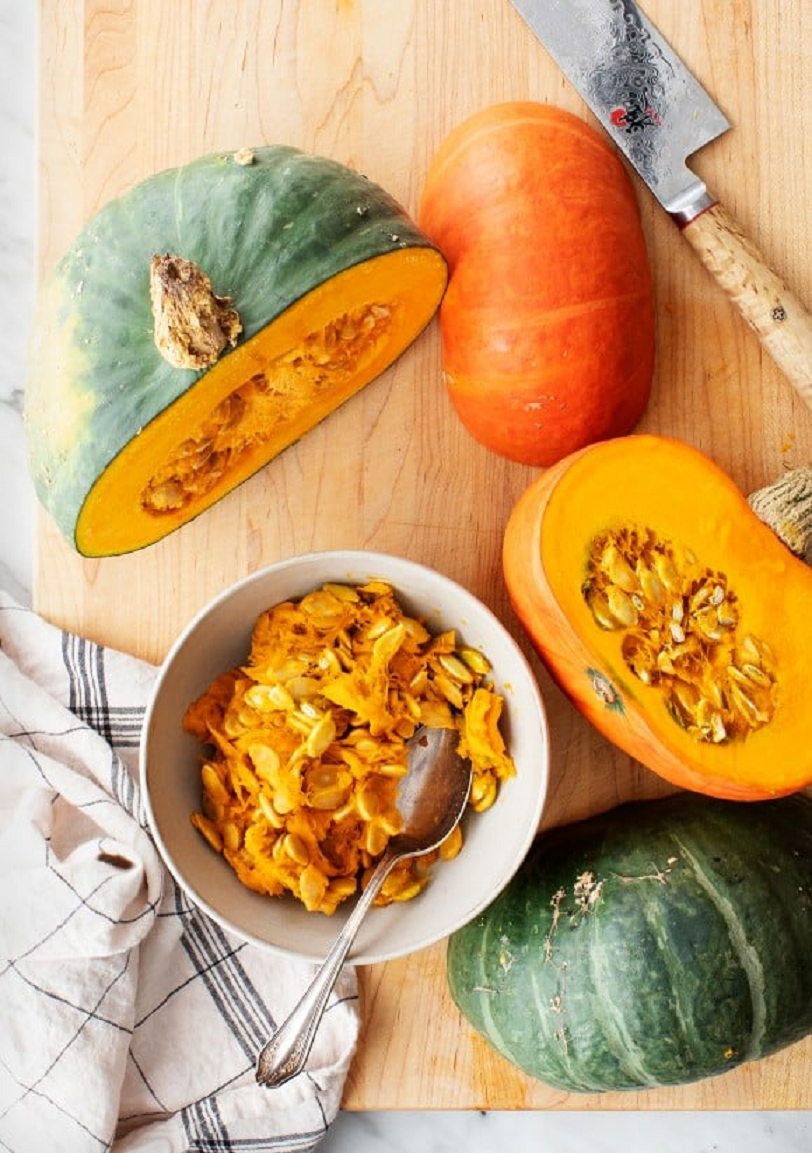
Ingredients:
- Seeds from 1 pumpkin
- 1 tablespoon olive oil (or melted butter)
- 1/2 teaspoon salt (adjust to taste)
- Optional seasonings:
- 1/2 teaspoon garlic powder
- 1/2 teaspoon smoked paprika
- 1/4 teaspoon cayenne pepper (for a spicy kick)
- 1/2 teaspoon cinnamon and sugar (for a sweet version)
Instructions:
1. Clean the Pumpkin Seeds
After scooping the seeds from your pumpkin, place them in a bowl of cold water. The seeds will float, making it easy to separate them from the pulp. Remove as much of the pumpkin stringy flesh as possible, then transfer the seeds to a colander. Rinse them well under running water.
2. Dry the Seeds
Once rinsed, pat the pumpkin seeds dry using a clean kitchen towel or paper towels. It’s important to dry them well, as this helps them roast evenly and get crispy in the oven. If you have extra time, you can let them air dry for about 30 minutes to an hour, but this step isn’t essential if you’re in a hurry.
3. Season the Seeds
Preheat your oven to 350°F (175°C). In a mixing bowl, toss the dried pumpkin seeds with olive oil (or melted butter) to coat them. Add salt and your desired seasonings. For a classic roasted flavor, just salt is fine. However, you can get creative by adding garlic powder, paprika, or even cinnamon and sugar for a sweet twist.
4. Roast the Seeds
Spread the seasoned pumpkin seeds in a single layer on a baking sheet lined with parchment paper. Bake in the preheated oven for 20-30 minutes, stirring them every 10 minutes to ensure even roasting. The seeds are done when they are golden brown and crispy.
5. Cool and Enjoy
Once the seeds are roasted to perfection, remove them from the oven and let them cool on the baking sheet. They will continue to crisp up as they cool.
Enjoy your roasted pumpkin seeds as a snack on their own or use them as a topping for salads, soups, or even yogurt. Store any leftovers in an airtight container to keep them fresh.
This simple pumpkin seeds recipe is a perfect way to make use of pumpkin leftovers and create a crunchy, flavorful treat!
Breakfast
Air Fryer Nachos Recipe
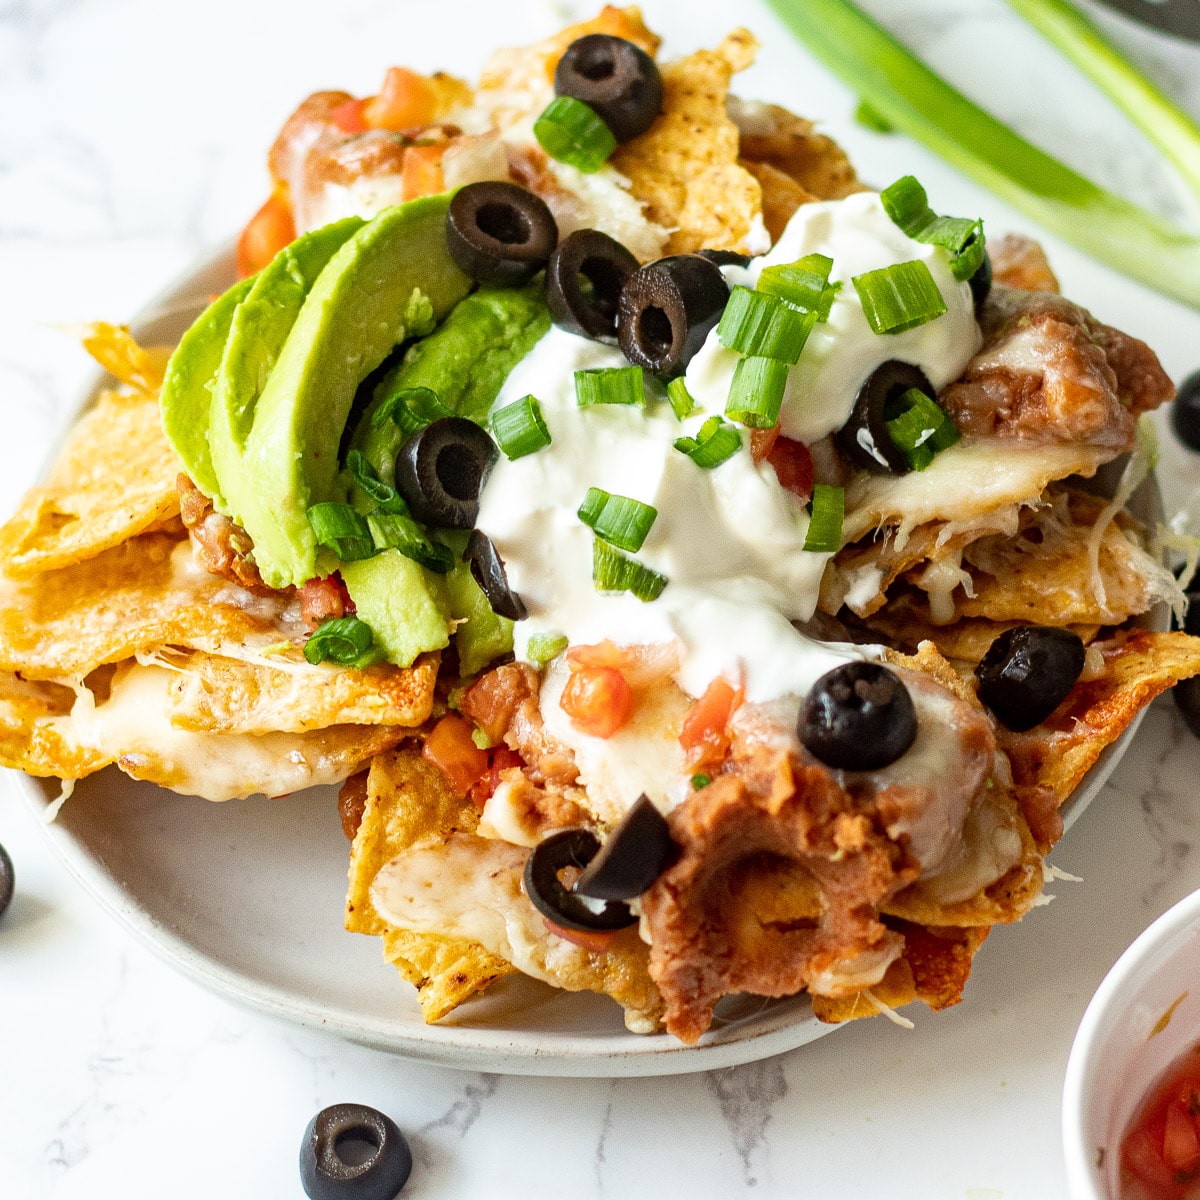
If you’re looking for a quick, tasty snack or party appetizer, air fryer nachos are the perfect choice! This recipe makes it easy to whip up a crispy, cheesy platter of nachos in no time. Using an air fryer ensures that the tortilla chips stay perfectly crispy while melting the cheese evenly. You can customize this recipe with your favorite toppings, and it’s ready in under 10 minutes.
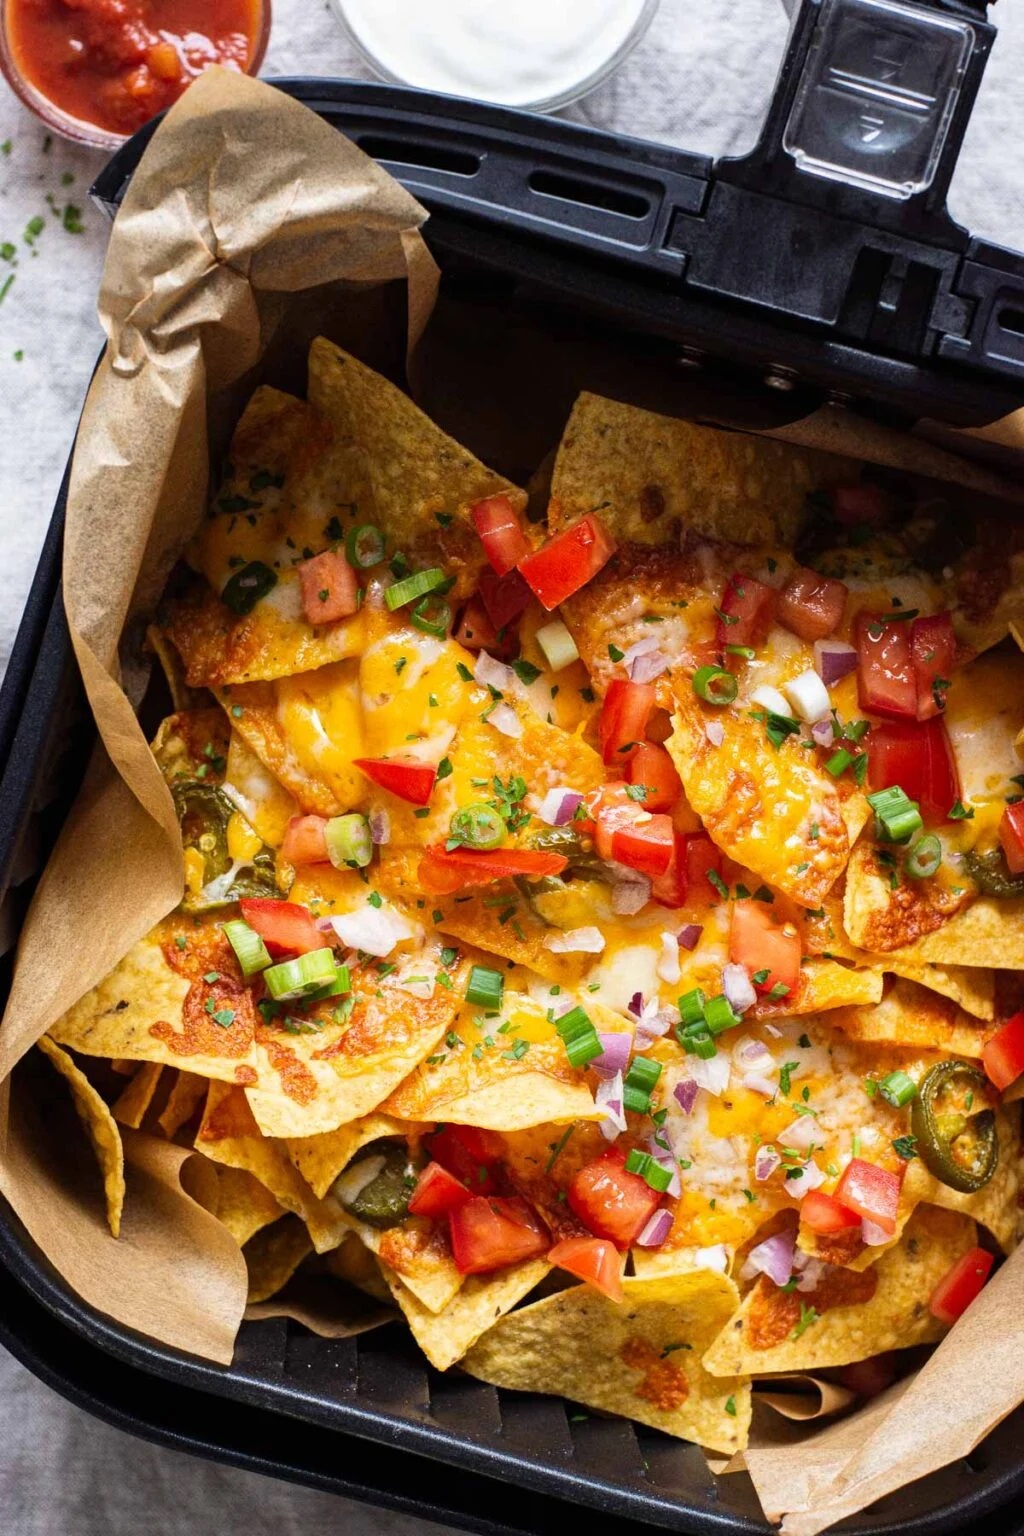
air fryer nachos
Ingredients:
- 4 cups tortilla chips
- 1 cup shredded cheese (cheddar, Monterey Jack, or a blend)
- 1/4 cup black beans (optional)
- 1/4 cup sliced jalapeños (fresh or pickled)
- 1/4 cup diced tomatoes
- 1/4 cup sliced black olives (optional)
- 1/4 cup diced red onion
- 1/4 cup sour cream
- 1/4 cup guacamole
- 1/4 cup salsa
- Fresh cilantro for garnish
Instructions:
1. Prepare the base
Start by arranging a layer of tortilla chips in the air fryer basket. It’s best to place the chips in a single layer, slightly overlapping, to ensure even cooking. If you’re making a large batch, you can cook the nachos in batches.
2. Add cheese and toppings
Sprinkle the shredded cheese evenly over the chips. For extra flavor, you can mix different types of cheese such as cheddar and Monterey Jack. Add your desired toppings like black beans, jalapeños, diced tomatoes, olives, and onions. The beauty of nachos is that they’re highly customizable, so feel free to add or omit toppings based on your preferences.
3. Air fry the nachos
Set your air fryer to 350°F (175°C). Place the basket into the air fryer and cook for 3-5 minutes, or until the cheese is fully melted and bubbly. Keep a close eye on them, as air fryers cook quickly, and you don’t want to burn the nachos. The chips should remain crispy while the toppings melt together nicely.
4. Finish with fresh toppings
Carefully remove the nachos from the air fryer and transfer them to a serving plate. Add fresh toppings like sour cream, guacamole, salsa, and a sprinkle of chopped cilantro. You can also squeeze some fresh lime juice over the top for a zesty kick.
5. Serve immediately
Air fryer nachos are best enjoyed right away while they’re hot and crispy. Serve them as a snack, appetizer, or even a light meal with your favorite dips on the side. Pair them with cold drinks, and you’ve got a winning dish for game nights or casual gatherings!
This air fryer nachos recipe is quick, easy, and delicious. The combination of crispy chips, melty cheese, and flavorful toppings makes it a guaranteed crowd-pleaser!
-
 Salads1 year ago
5-Minute Dense Bean Salad Recipe
-

 Dinners1 year ago
MasterChef Seafood Paella Recipe
-

 Sauces1 year ago
Chick-fil-A Sauces Recipe
-
 Breakfast1 year ago
Cheese Omelette Recipe That Will Make You Look Like a MasterChef
-

 Dinners1 year ago
Easy Garlic Butter Chicken Bites with Creamy Parmesan Pasta
-

 Dinners1 year ago
MasterChef Arancini Balls Recipe
-
 Vegetables1 year ago
Best Ever Guacamole Recipe
-
 Pastry1 year ago
French Pastry Pie Crust


