Dinners
Practical Baked Salmon Recipe
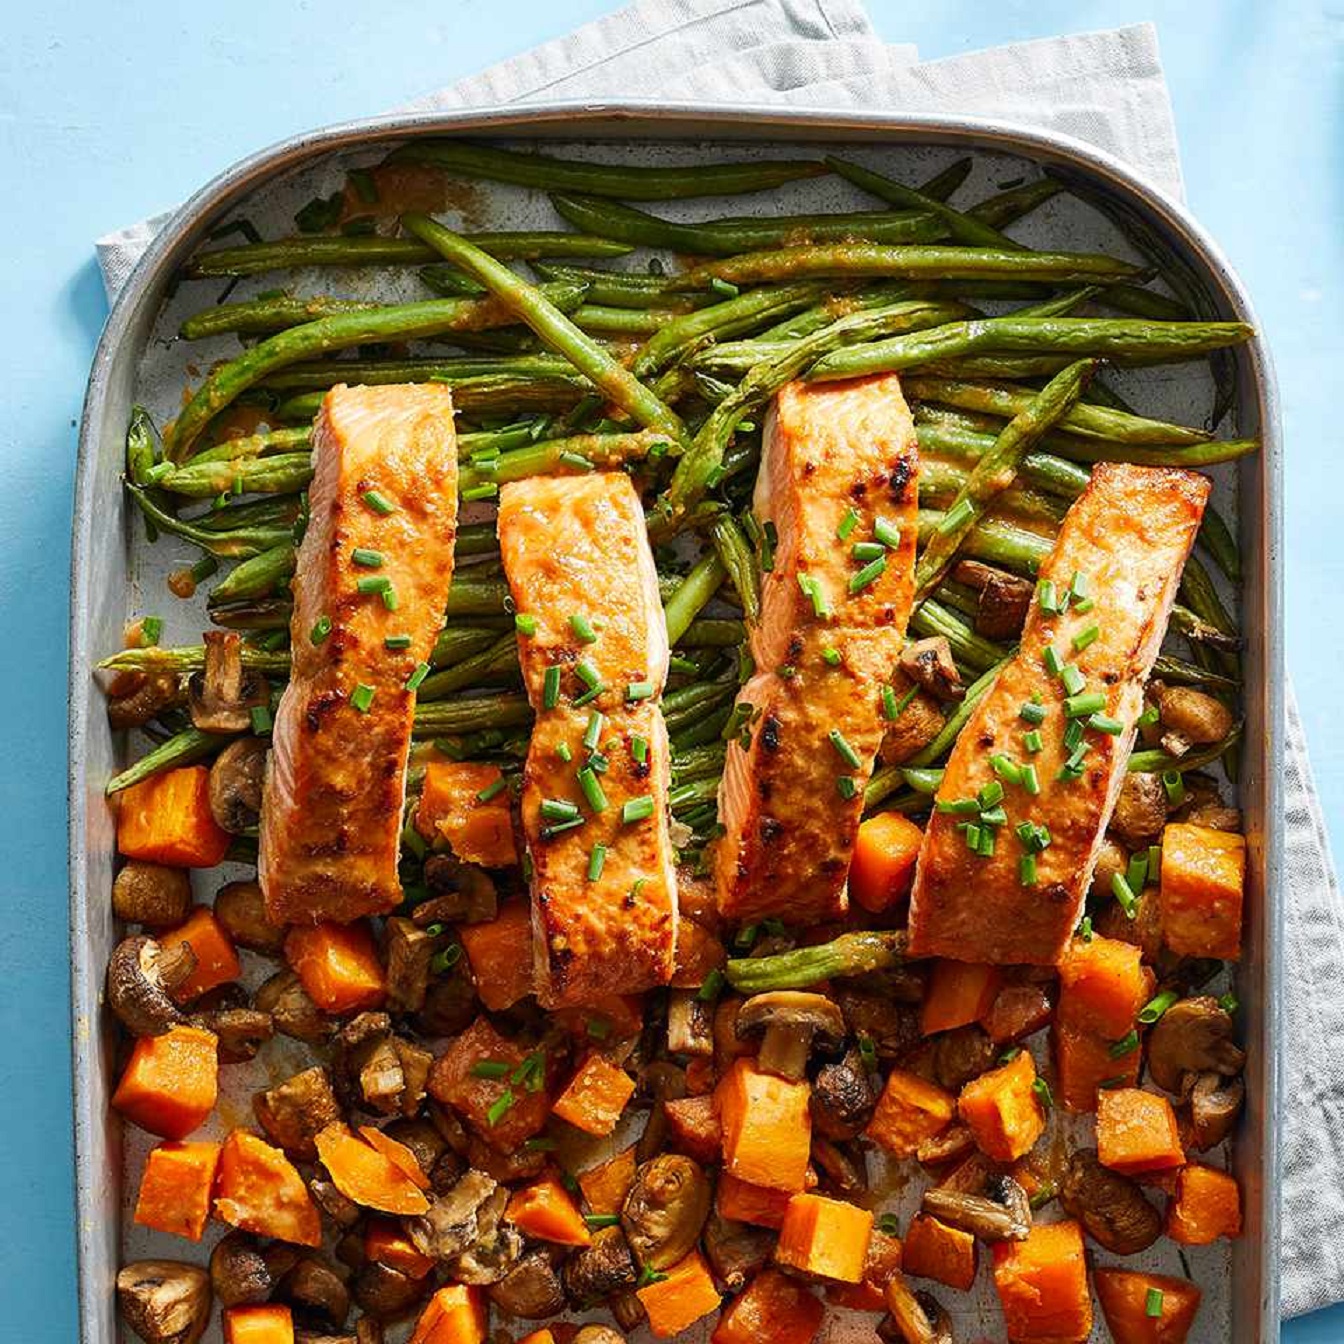
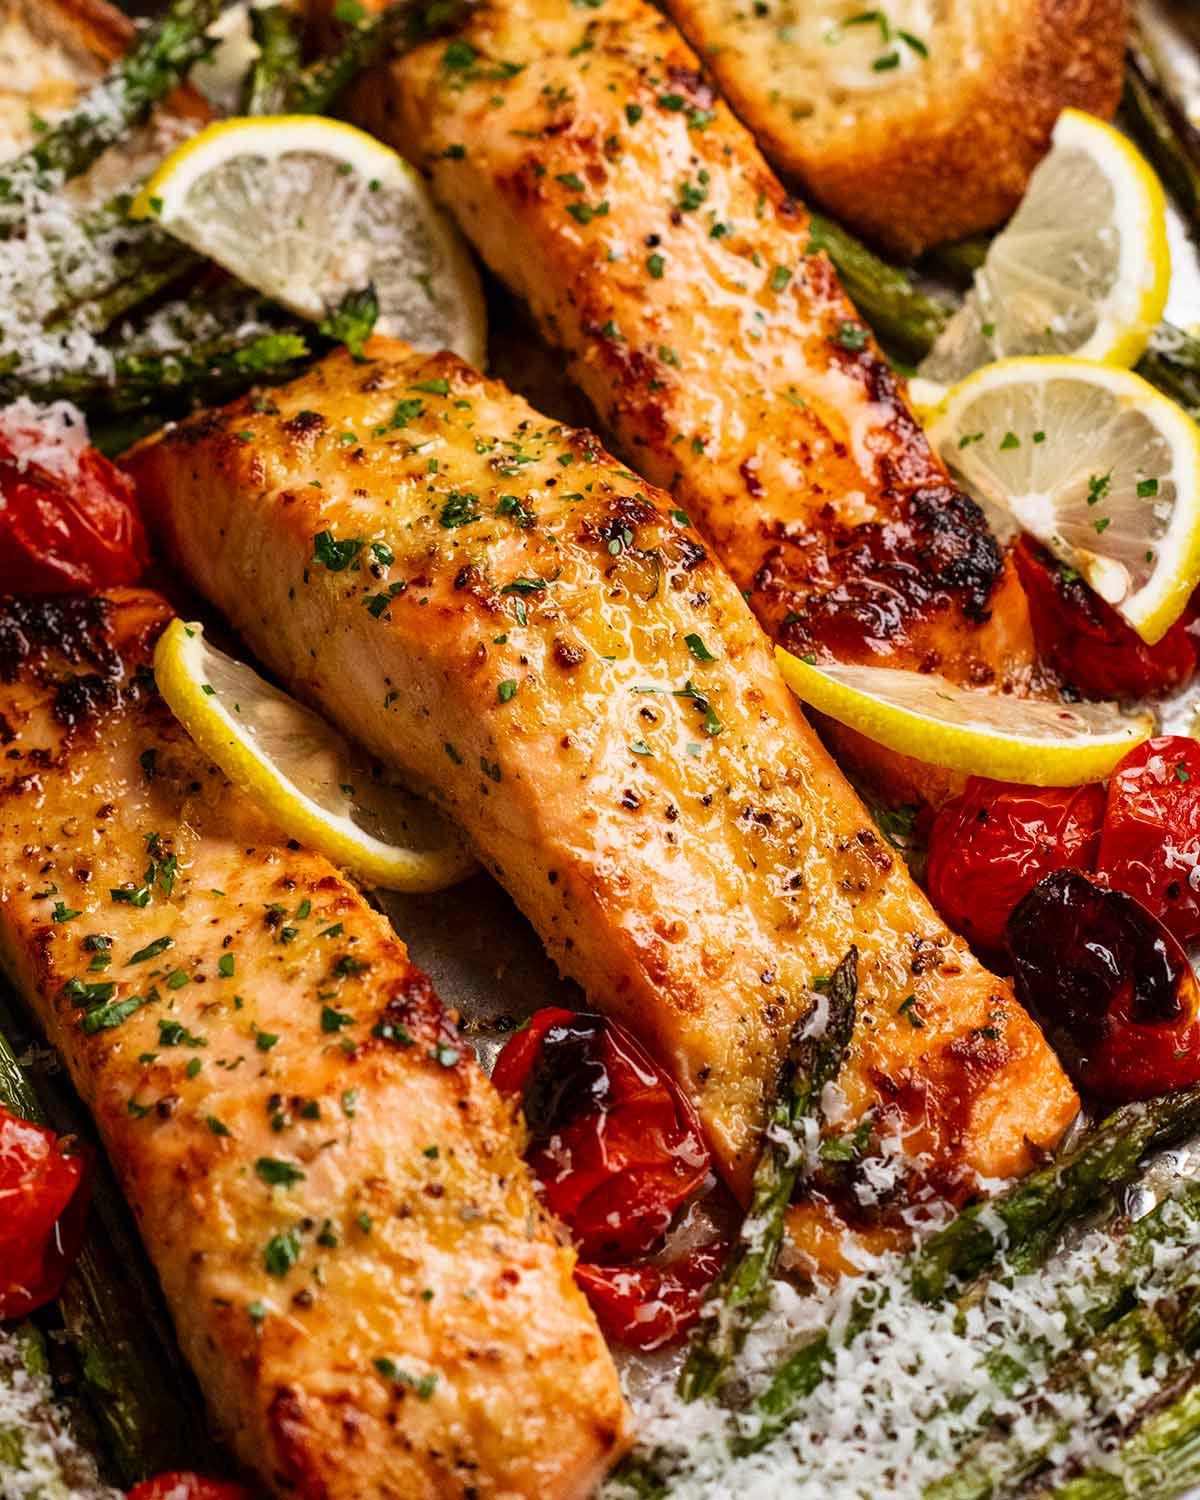
Baked salmon is a delicious, healthy, and easy-to-make dish that’s perfect for busy weeknights or elegant dinners. This recipe requires minimal ingredients and takes just about 20 minutes to prepare, making it a quick go-to meal. The salmon is baked until tender, juicy, and full of flavor, with a simple seasoning that lets the natural taste of the fish shine. Pair it with your favorite side dishes, and you have a nutritious, satisfying meal.
Ingredients:
- 4 salmon fillets (about 6 ounces each)
- 2 tablespoons olive oil (or melted butter)
- 2 garlic cloves, minced
- 1 lemon, sliced (plus extra for serving)
- 1 tablespoon fresh parsley, chopped (or 1 teaspoon dried parsley)
- 1 teaspoon dried thyme (or fresh thyme sprigs)
- Salt and pepper, to taste
- Optional: 1 teaspoon paprika or smoked paprika for color and flavor
Instructions:
1. Preheat the Oven
Preheat your oven to 400°F (200°C). This is the perfect temperature to bake the salmon quickly while keeping it tender and juicy.
2. Prepare the Salmon
Line a baking sheet with parchment paper or foil for easy cleanup. Place the salmon fillets skin-side down on the prepared baking sheet, leaving a little space between each fillet. Pat the salmon dry with a paper towel to help it crisp up while baking.
3. Season the Salmon
Drizzle the salmon fillets with olive oil or melted butter, making sure each piece is evenly coated. Sprinkle the fillets with minced garlic, salt, pepper, and thyme. For extra flavor and a slight smoky kick, you can also add paprika or smoked paprika. Lay a slice of lemon on top of each fillet to infuse the salmon with a subtle citrusy flavor as it bakes.
4. Bake the Salmon
Place the baking sheet in the preheated oven and bake the salmon for 12-15 minutes, depending on the thickness of your fillets. A good rule of thumb is to bake salmon for 4-6 minutes per half-inch of thickness. The salmon is done when it flakes easily with a fork and reaches an internal temperature of 145°F (63°C).
5. Garnish and Serve
Once the salmon is baked to perfection, remove it from the oven. Squeeze fresh lemon juice over the fillets and sprinkle them with chopped parsley for a bright, fresh flavor. Serve the baked salmon immediately, with your favorite sides such as roasted vegetables, steamed rice, or a simple salad.
Tips:
- For extra moisture, you can cover the salmon loosely with foil during baking, then remove the foil in the last few minutes to let the top brown slightly.
- Add flavor variations by using different herbs like dill, rosemary, or basil, or try a honey glaze for a sweet touch.
This practical baked salmon recipe is easy, nutritious, and delicious—perfect for a quick, flavorful meal!
Dinners
Easy Marry Me Chicken Recipe
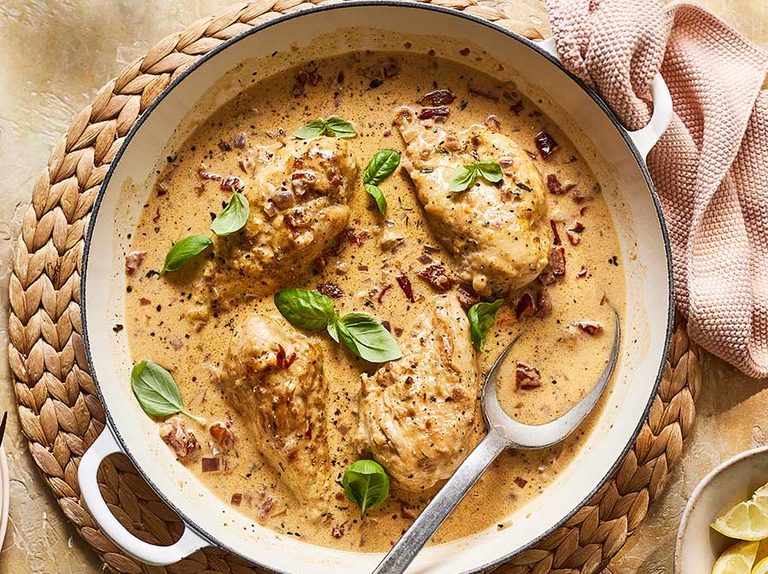
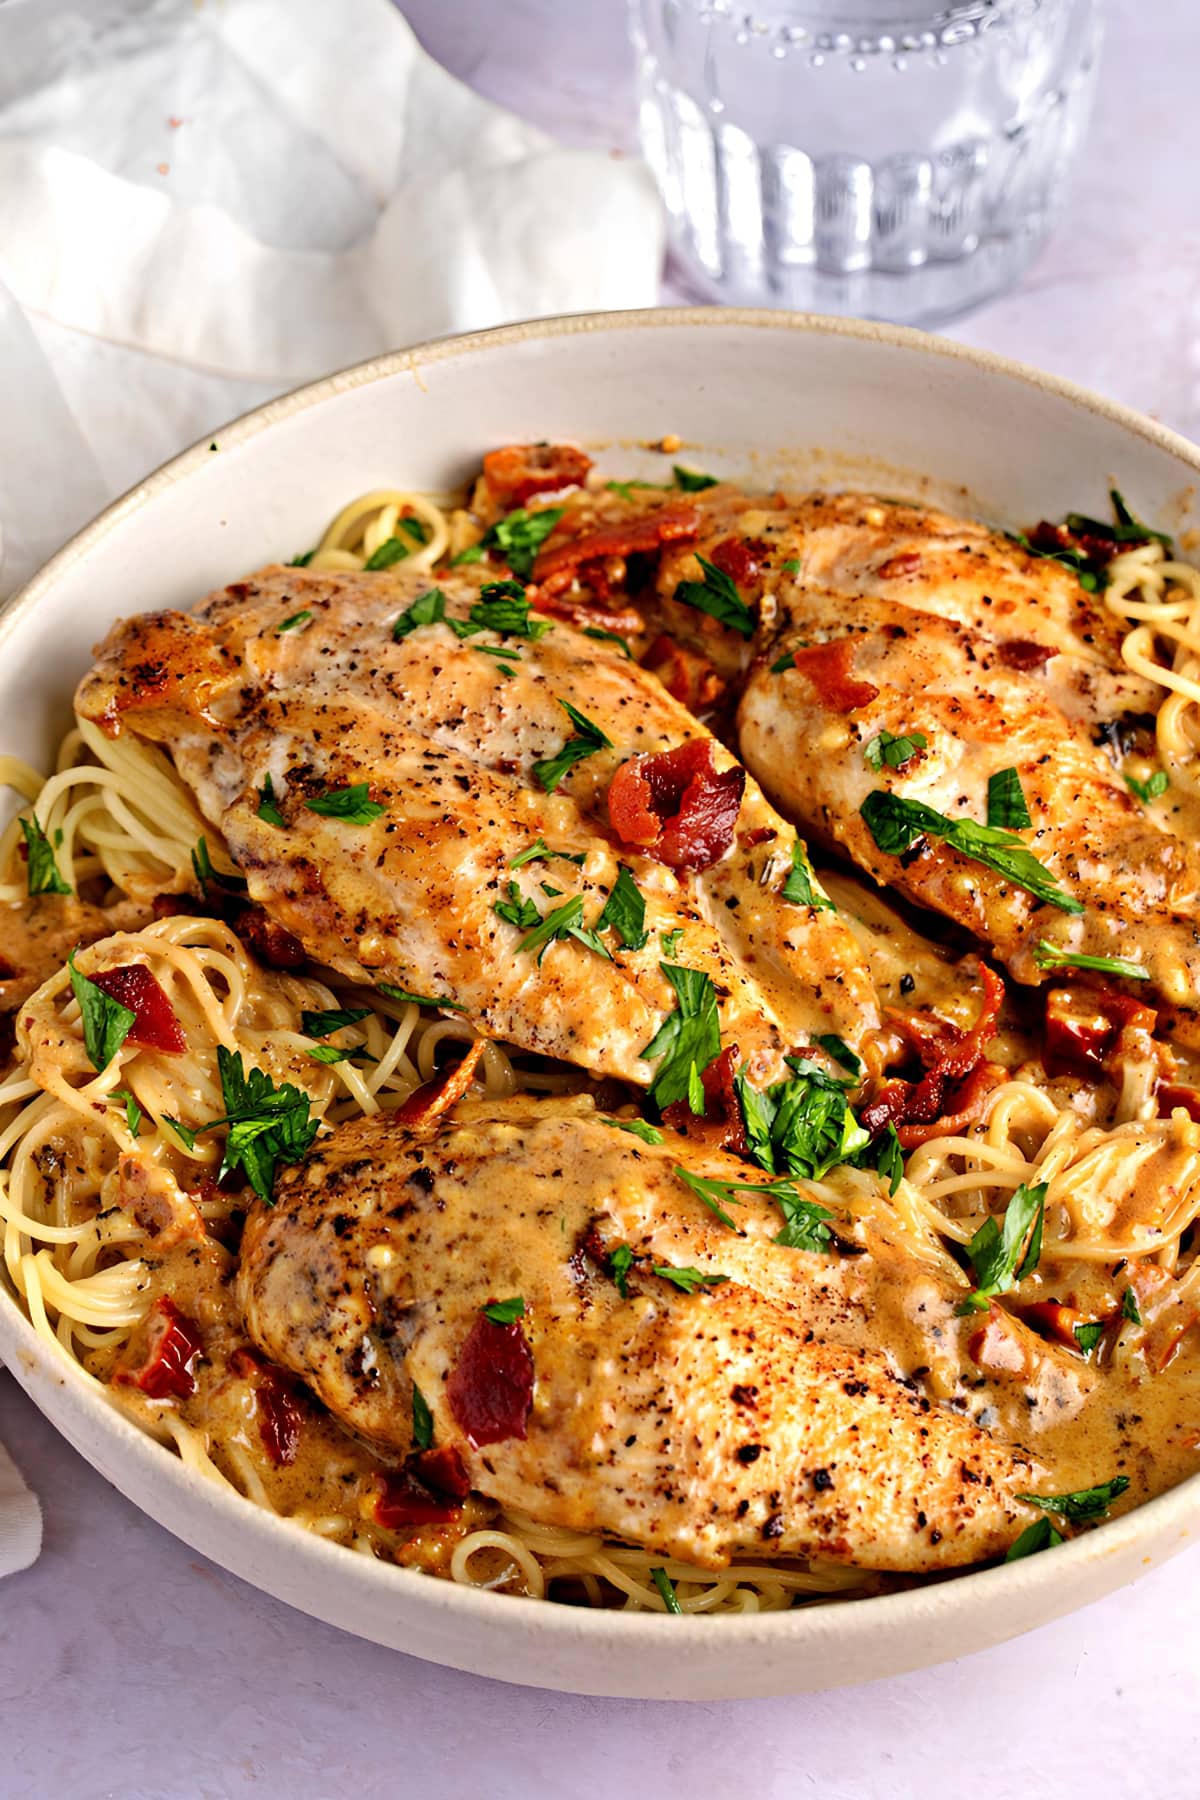
Marry Me Chicken is a creamy, flavorful dish that has become famous for its rich taste and the joke that it’s “so good, it will make someone want to propose!” Made with juicy chicken breasts smothered in a creamy, sun-dried tomato and Parmesan sauce, this recipe is easy to prepare yet elegant enough for special occasions. Ready in under an hour, it’s a perfect dinner to impress guests or treat yourself.
Ingredients:
- 4 boneless, skinless chicken breasts
- 1 teaspoon salt
- ½ teaspoon black pepper
- 1 teaspoon garlic powder
- 2 tablespoons olive oil
- 3-4 cloves garlic, minced
- 1 cup chicken broth
- 1 cup heavy cream
- ¾ cup grated Parmesan cheese
- ½ cup sun-dried tomatoes, chopped (oil-packed, drained)
- 1 teaspoon dried oregano
- ½ teaspoon crushed red pepper flakes (optional, for a bit of heat)
- Fresh basil, chopped, for garnish
- Freshly cracked black pepper, for garnish
Instructions:
1. Prepare the Chicken
Season the chicken breasts on both sides with salt, black pepper, and garlic powder. This will infuse the meat with flavor and create a delicious crust when seared.
2. Sear the Chicken
Heat the olive oil in a large skillet over medium-high heat. Once the oil is hot and shimmering, add the chicken breasts in a single layer. Cook the chicken for 5-6 minutes per side, or until golden brown and almost cooked through. The chicken should be about 80% done. Remove the chicken from the skillet and set aside on a plate. You will finish cooking the chicken in the sauce later.
3. Sauté the Garlic
In the same skillet, add the minced garlic and sauté for 30 seconds to 1 minute, or until fragrant. Be careful not to burn the garlic, as it can become bitter. Use the garlic-infused oil to scrape up any browned bits from the bottom of the pan. These bits are packed with flavor and will add depth to the sauce.
4. Make the Creamy Sauce
Pour the chicken broth into the skillet and bring to a simmer, scraping up any remaining browned bits from the bottom of the pan. This adds a savory base to your sauce. Next, reduce the heat to low and stir in the heavy cream. Allow the sauce to simmer gently for about 2-3 minutes.
Add the grated Parmesan cheese to the sauce, stirring until melted and fully incorporated. The sauce will thicken and become velvety as the cheese melts. Stir in the chopped sun-dried tomatoes, dried oregano, and crushed red pepper flakes if you want a hint of heat. Let the sauce simmer for an additional 2-3 minutes, allowing the flavors to meld together.
5. Return the Chicken to the Skillet
Add the seared chicken breasts back into the skillet, nestling them into the creamy sauce. Spoon some sauce over the top of each chicken breast to ensure they’re fully coated. Cover the skillet and let the chicken simmer in the sauce for another 8-10 minutes, or until the chicken is cooked through and reaches an internal temperature of 165°F (74°C).
As the chicken simmers, the sauce will continue to thicken, and the flavors will deepen. If the sauce becomes too thick, you can add a splash of chicken broth or heavy cream to thin it out to your desired consistency.
6. Garnish and Serve
Once the chicken is cooked through and the sauce is thick and creamy, remove the skillet from the heat. Sprinkle freshly chopped basil over the top for a burst of freshness and a touch of color. Add a few cracks of black pepper for extra flavor.
Serve Marry Me Chicken over a bed of fluffy rice, creamy mashed potatoes, or al dente pasta to soak up all the delicious sauce. For a lighter option, pair it with steamed vegetables or a simple side salad.
Tips for Success:
- Use Chicken Thighs: If you prefer dark meat, you can use boneless, skinless chicken thighs instead of chicken breasts. Thighs are juicier and more forgiving if slightly overcooked.
- Adjust the Heat: If you love a spicy kick, don’t be afraid to add more crushed red pepper flakes. Alternatively, omit them if you prefer a milder dish.
- Make It Ahead: This dish can be made ahead and stored in the refrigerator for up to 3 days. The flavors will continue to meld and become even more delicious. Reheat gently on the stovetop, adding a bit of chicken broth or cream to loosen the sauce.
- Add Vegetables: You can add some chopped spinach or kale to the sauce for a burst of color and extra nutrition. Simply stir in the greens at the end and let them wilt in the heat of the sauce.
Why This Recipe Works:
The combination of seared chicken, rich cream, and tangy sun-dried tomatoes creates a dish full of flavor contrasts. The Parmesan cheese adds umami, while the basil and garlic bring freshness and depth. It’s a foolproof way to impress with minimal effort and maximum flavor.
Enjoy this Marry Me Chicken with loved ones, and get ready for compliments on your incredible cooking! This dish may just win over hearts and stomachs alike.
Dinners
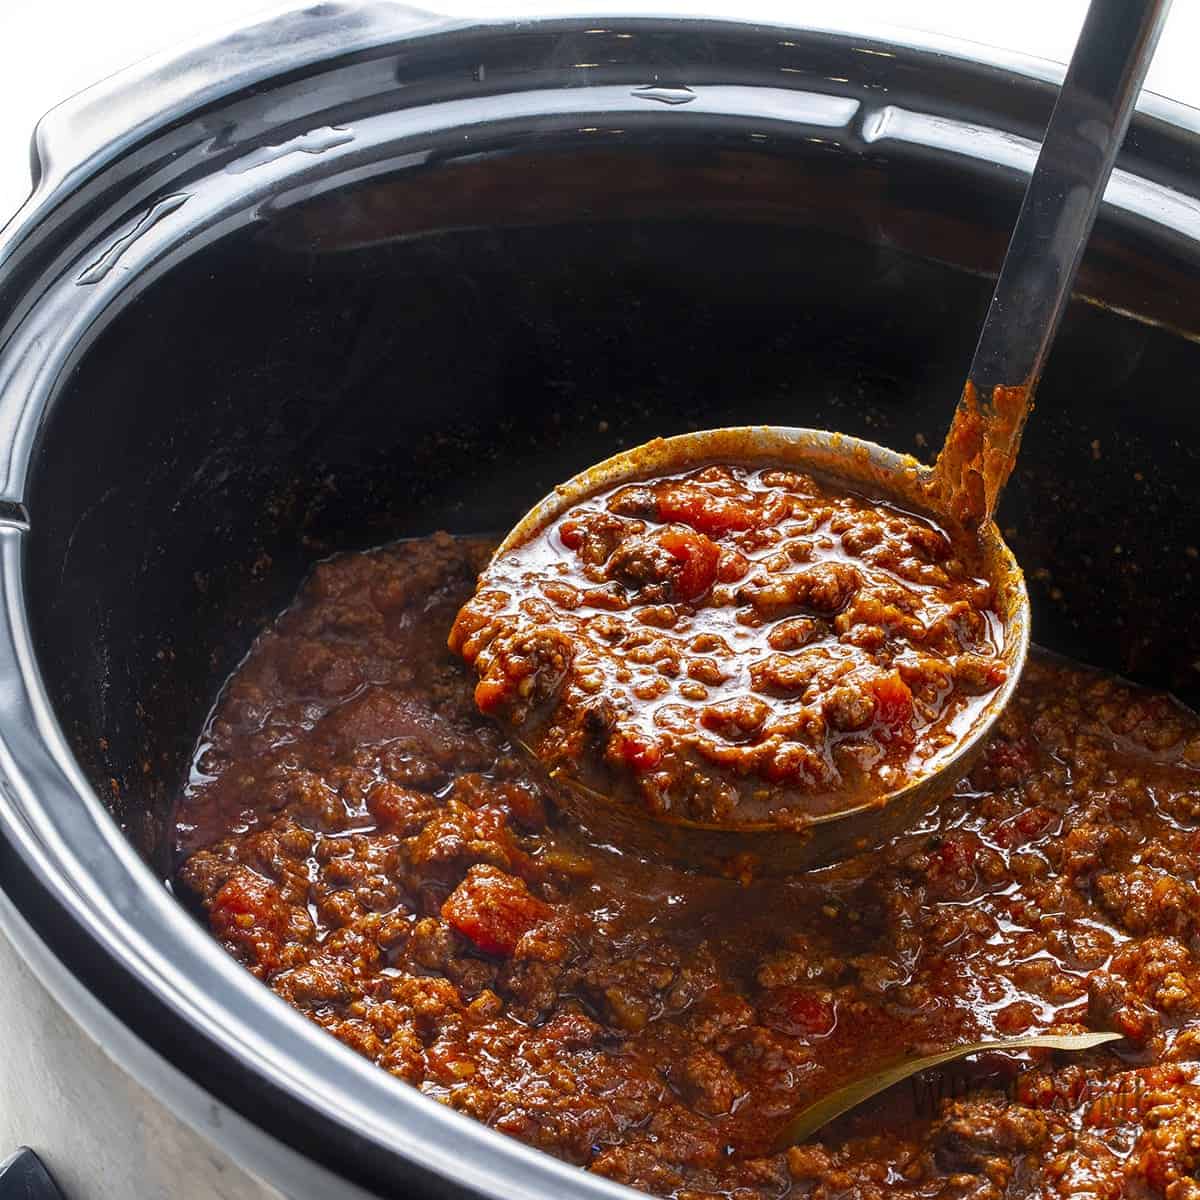
Easy Crockpot Chili Recipe
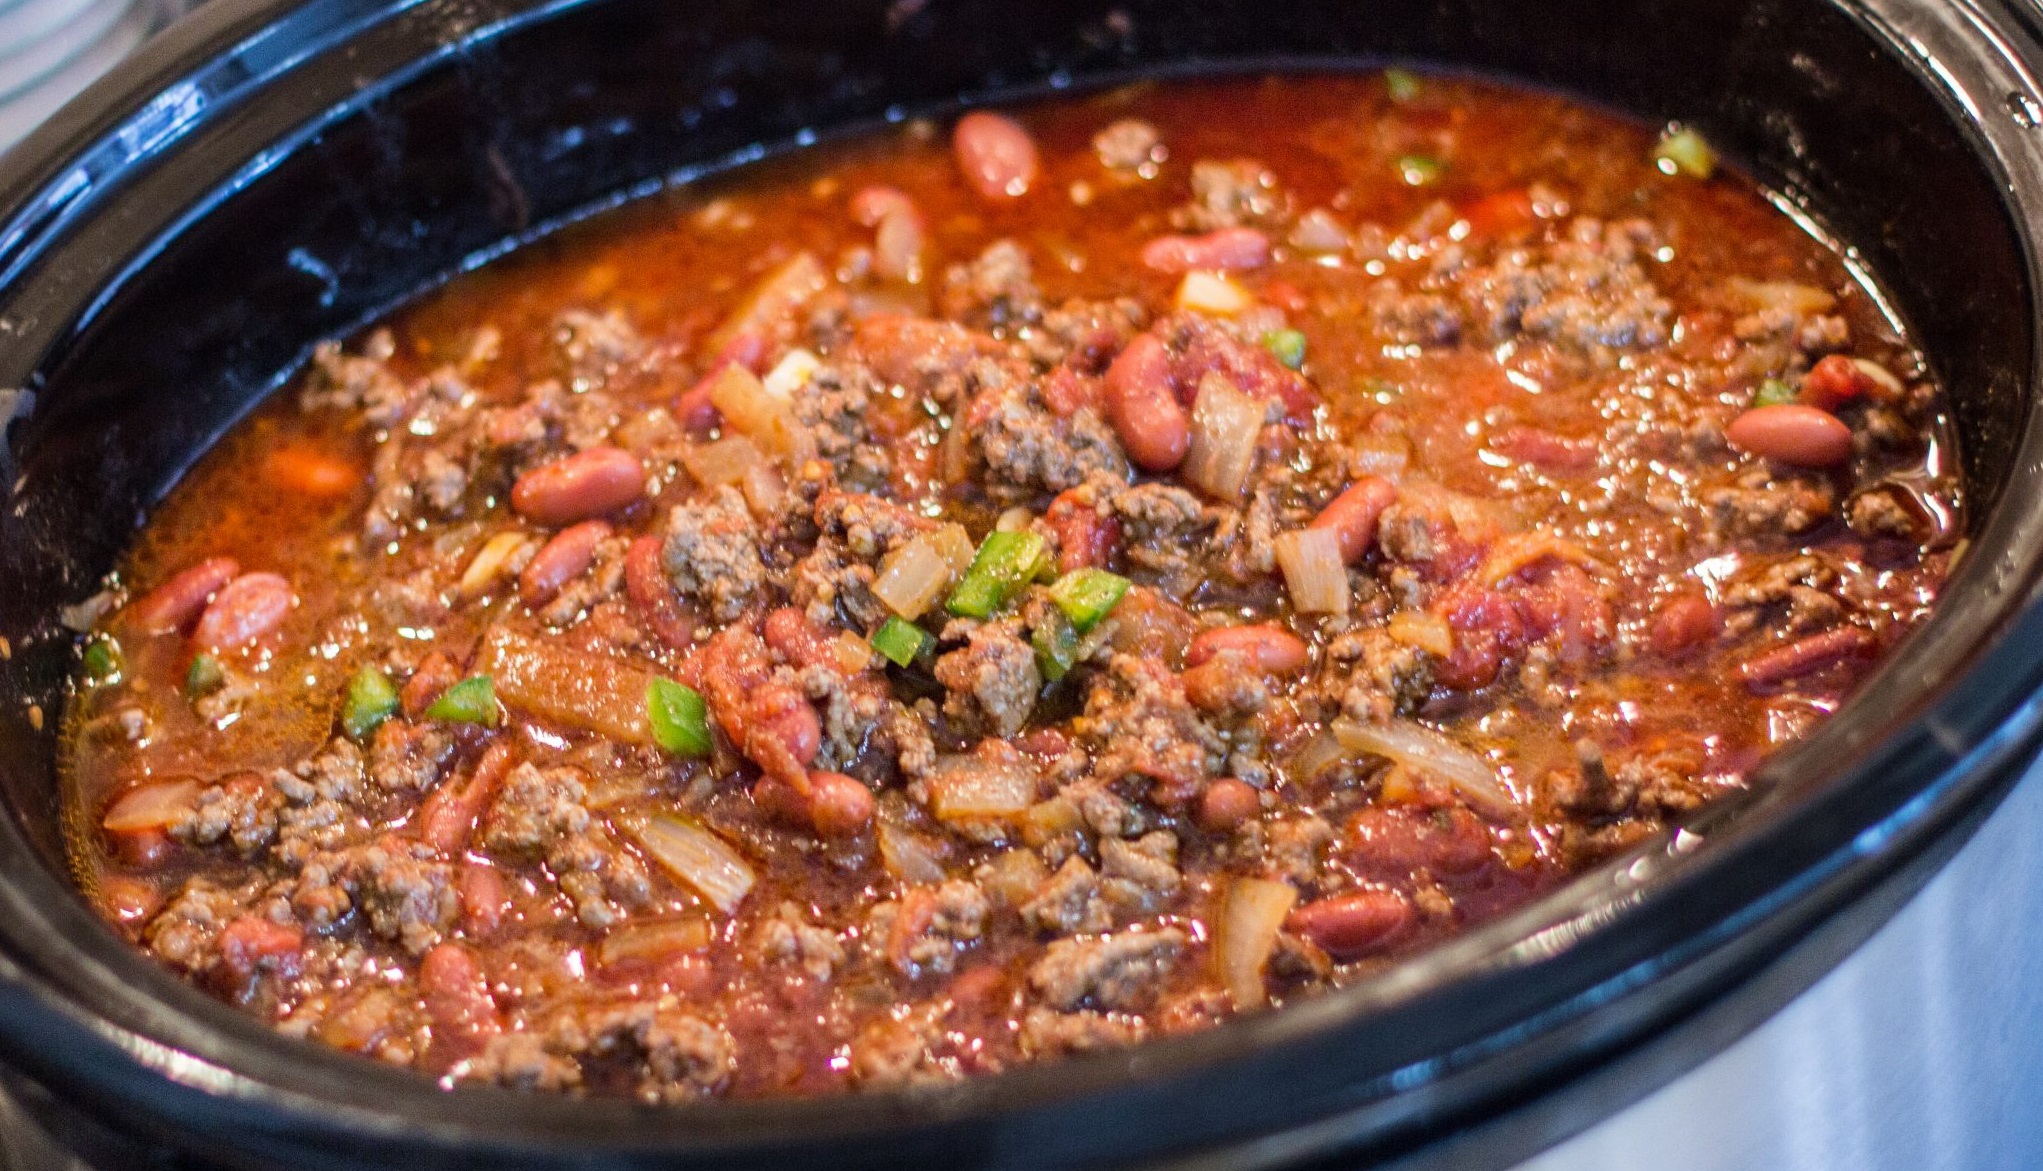
A warm bowl of chili is the ultimate comfort food, and making it in a crockpot makes the process even easier. This easy crockpot chili recipe is hearty, flavorful, and perfect for feeding a crowd or enjoying as leftovers. With ground beef, beans, tomatoes, and a blend of spices, this chili has all the classic flavors with minimal effort. Simply toss in the ingredients, set your crockpot, and let it work its magic.
Ingredients:
- 1 lb ground beef (or ground turkey)
- 1 can (15 oz) kidney beans, drained and rinsed
- 1 can (15 oz) black beans, drained and rinsed
- 1 can (15 oz) diced tomatoes with green chilies
- 1 can (15 oz) crushed tomatoes
- 1 small onion, diced
- 1 bell pepper, diced (any color)
- 2 cloves garlic, minced
- 1 cup beef broth (or chicken broth)
- 2 tablespoons chili powder
- 1 teaspoon ground cumin
- 1 teaspoon smoked paprika
- ½ teaspoon oregano
- Salt and pepper, to taste
- Optional toppings: shredded cheese, sour cream, green onions, jalapeño slices, tortilla chips
Instructions:
1. Brown the Ground Beef
In a skillet over medium heat, brown the ground beef. Break it up with a spoon and cook until no longer pink. This step helps lock in flavor, but if you’re pressed for time, you can skip it and add the raw beef directly to the crockpot. Drain any excess fat and transfer the beef to your crockpot.
2. Add the Vegetables and Beans
Add the diced onion, bell pepper, and minced garlic to the crockpot. These veggies add flavor and texture, making your chili hearty and satisfying. Then, add the drained kidney beans and black beans. You can also mix in other beans like pinto beans or navy beans if you like a variety.
3. Pour in the Tomatoes and Broth
Add the can of diced tomatoes with green chilies for a mild kick, along with the crushed tomatoes. Pour in the beef broth, which helps to thin out the chili slightly and keeps it from becoming too thick as it cooks. Stir everything together to evenly combine.
4. Season the Chili
Add the chili powder, cumin, smoked paprika, and oregano to the pot. These spices create the rich, smoky flavor that makes chili so comforting. Add salt and pepper to taste, and feel free to adjust the spices to your liking if you prefer more or less heat.
5. Slow Cook the Chili
Set your crockpot to low heat and cook the chili for 6-8 hours. If you’re short on time, you can set it to high for 3-4 hours. The slow cooking process allows the flavors to meld and the beans to become tender.
6. Taste and Adjust
Before serving, taste the chili and adjust the seasonings as needed. You can add more salt, pepper, or a sprinkle of additional chili powder for extra heat. If the chili is too thick, add a splash of beef broth or water to reach your desired consistency.
7. Serve with Toppings
Ladle the chili into bowls and top with your favorite toppings. Shredded cheese, a dollop of sour cream, green onions, and jalapeño slices add great flavor and texture. Serve with tortilla chips or a side of cornbread for a complete meal.
Tips:
- Make it Your Own: Customize with extra vegetables like carrots, corn, or zucchini.
- Spice It Up: Add cayenne pepper or diced jalapeños for more heat.
- Freezer-Friendly: Store leftover chili in freezer-safe containers for up to 3 months.
This crockpot chili recipe is perfect for meal prep, busy weeknights, or any occasion where you want a hearty, crowd-pleasing meal. Enjoy the warmth and comfort of a classic chili made easy!
Dinners
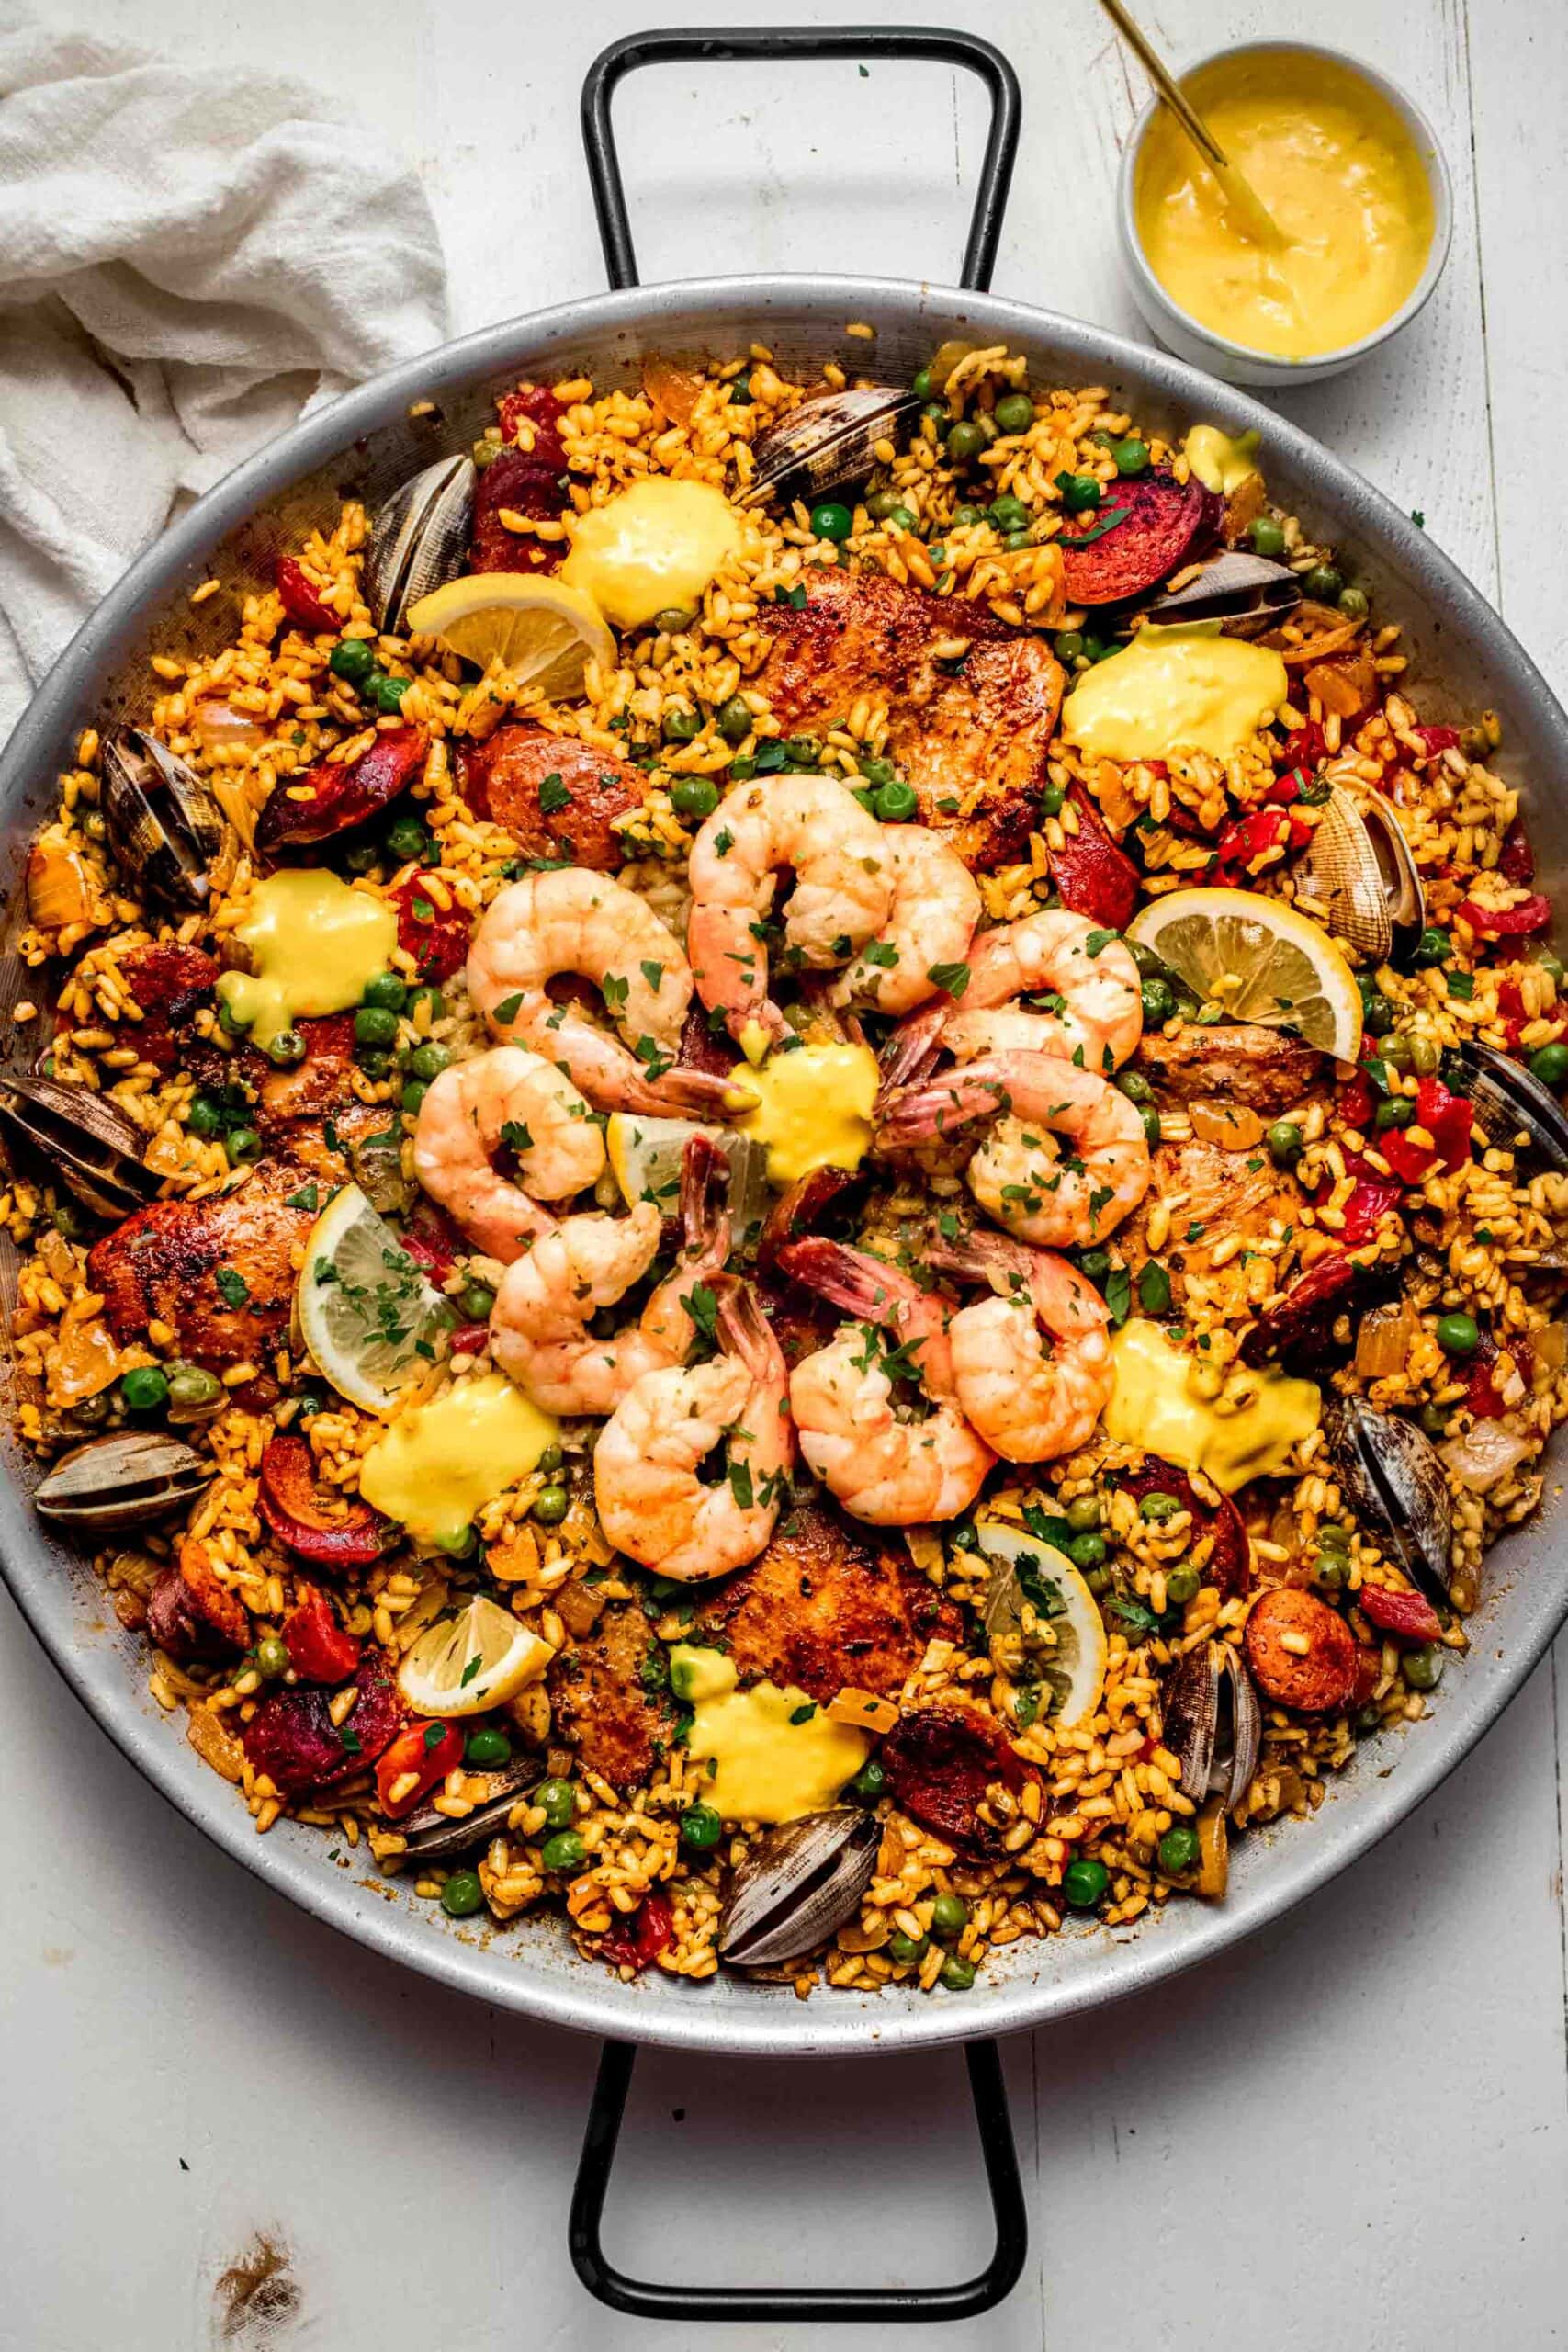
MasterChef Seafood Paella Recipe
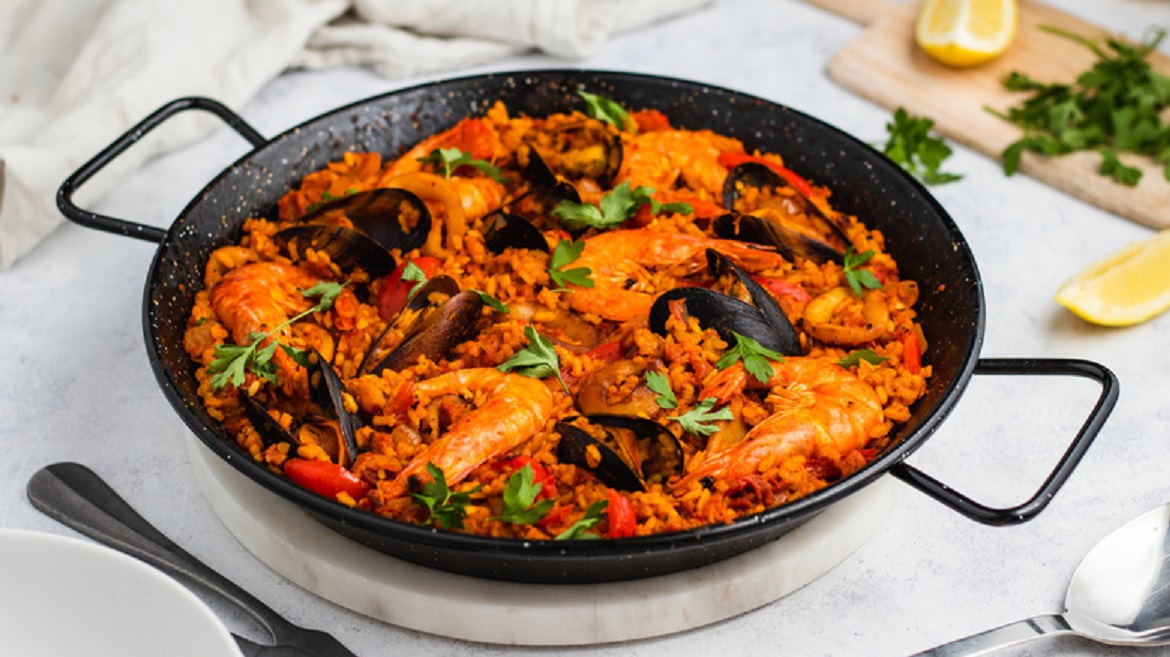
Seafood paella is a classic Spanish dish, bursting with flavors from the sea, saffron, and fresh vegetables. Although it might seem intimidating, this MasterChef-style recipe makes it approachable for home cooks. Paella is traditionally cooked in a wide, shallow pan to create the perfect crispy rice bottom, called “socarrat.” Follow this simple guide to create a show-stopping dish that’s full of vibrant colors and rich flavors.
Ingredients:
- 2 tablespoons olive oil
- 1 onion, finely chopped
- 1 red bell pepper, diced
- 3 garlic cloves, minced
- 2 cups Arborio or bomba rice (paella rice)
- 4 cups seafood or chicken broth (warm)
- 1/2 teaspoon saffron threads (or 1 teaspoon turmeric as a substitute)
- 1/2 cup dry white wine (optional)
- 1 teaspoon smoked paprika
- 12 large shrimp, peeled and deveined
- 12 mussels, cleaned
- 12 clams, cleaned
- 1/2 cup squid rings (optional)
- 1 cup peas (frozen or fresh)
- 1 lemon, cut into wedges
- Salt and pepper, to taste
- Fresh parsley for garnish
Instructions:
1. Prepare the Ingredients
Before starting, ensure all your seafood is cleaned and prepped. Soak the saffron threads in 2 tablespoons of warm water to release its color and flavor. If using chicken broth, make sure it’s heated, as adding warm broth helps the rice cook evenly.
2. Sauté the Vegetables
Heat the olive oil in a large paella pan or a wide skillet over medium heat. Add the finely chopped onion and diced red bell pepper. Sauté for about 5 minutes until softened and slightly caramelized. Then, add the minced garlic and sauté for another minute until fragrant.
3. Toast the Rice
Add the rice to the pan, stirring to coat the grains with the oil and vegetables. Toast the rice for 2-3 minutes, letting it absorb the flavors. This step is key for developing the base of the paella. Add the smoked paprika and the saffron-infused water (or turmeric) to give the dish its signature color and depth of flavor.
4. Add the Liquid
Pour in the white wine (if using) and let it simmer for a couple of minutes until it reduces slightly. Gradually add the warm seafood broth, one cup at a time, stirring gently to distribute the rice evenly across the pan. Season with salt and pepper to taste. Once the broth is added, avoid stirring to allow the rice to cook undisturbed and form a crust at the bottom.
5. Cook the Seafood
After 10 minutes of simmering, add the shrimp, mussels, clams, and squid (if using), tucking them into the rice. Sprinkle the peas over the top. Continue to cook for another 10-15 minutes, or until the seafood is fully cooked and the rice has absorbed most of the liquid. The mussels and clams should open up, and the shrimp should turn pink.
6. Finish and Serve
Once the rice is tender and the socarrat (crispy bottom layer) has formed, remove the pan from the heat. Cover it with foil and let it rest for 5 minutes. Garnish with fresh parsley and serve with lemon wedges for a bright, fresh contrast to the rich flavors.
Tips:
- Avoid over-stirring the rice during cooking to achieve the crispy “socarrat.”
- Use fresh seafood for the best flavor, but frozen seafood can work in a pinch.
This seafood paella is a true show-stopper—full of rich, savory flavors that will transport you straight to the coast of Spain. Perfect for a special occasion or an impressive dinner party!
-
 Salads1 year ago
5-Minute Dense Bean Salad Recipe
-
 Dinners1 year ago
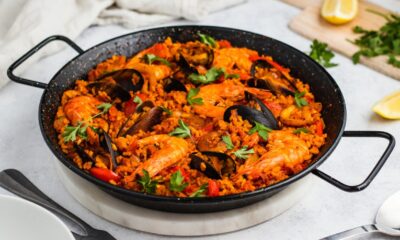
MasterChef Seafood Paella Recipe
-

 Sauces1 year ago
Chick-fil-A Sauces Recipe
-

 Breakfast1 year ago
Cheese Omelette Recipe That Will Make You Look Like a MasterChef
-

 Dinners1 year ago
Easy Garlic Butter Chicken Bites with Creamy Parmesan Pasta
-

 Dinners1 year ago
MasterChef Arancini Balls Recipe
-
 Vegetables1 year ago
Best Ever Guacamole Recipe
-
 Pastry1 year ago
French Pastry Pie Crust


